12 Steps of UX Design for a Museum Exhibition
May 2011
The research for and execution of an exhibition and symposium. An 18-month project completed while I was a student at Stanford.

Everyone has been bored in a museum at some point. Too many hours of staring at the wall makes your neck hurt. While this can be caused by poor curatorial decisions and an insular art community that doesn't mind when outsiders feel stupid, many exhibitions actually make a valiant attempt to engage visitors but fall short. It turns out, exhibitions that tell a good story and engage everyone from your mom to your ten-year-old neighbor are surprisingly difficult (and expensive!) to put together.
Fellow d.School student Michael Turri and I spent 18 months developing an exhibition of our own while students at Stanford. Because we didn't have any clue what we were doing and had to fumble our way through creating a student-run exhibition, I wanted to create a resource for anyone else out there crazy enough to attempt one. This page outlines the steps we took to produce a successful event on a shoestring budget.
Step 1: Find a topic you're passionate about
Designing an exhibition takes For. Ev. Er. Seriously. So you're going to be putting a lot of hours into learning about this topic and figuring out the best way to share that knowledge with others. Take some time to make sure you and everyone else involved with the project really like the materials you'll be showing and the story that goes along with them.
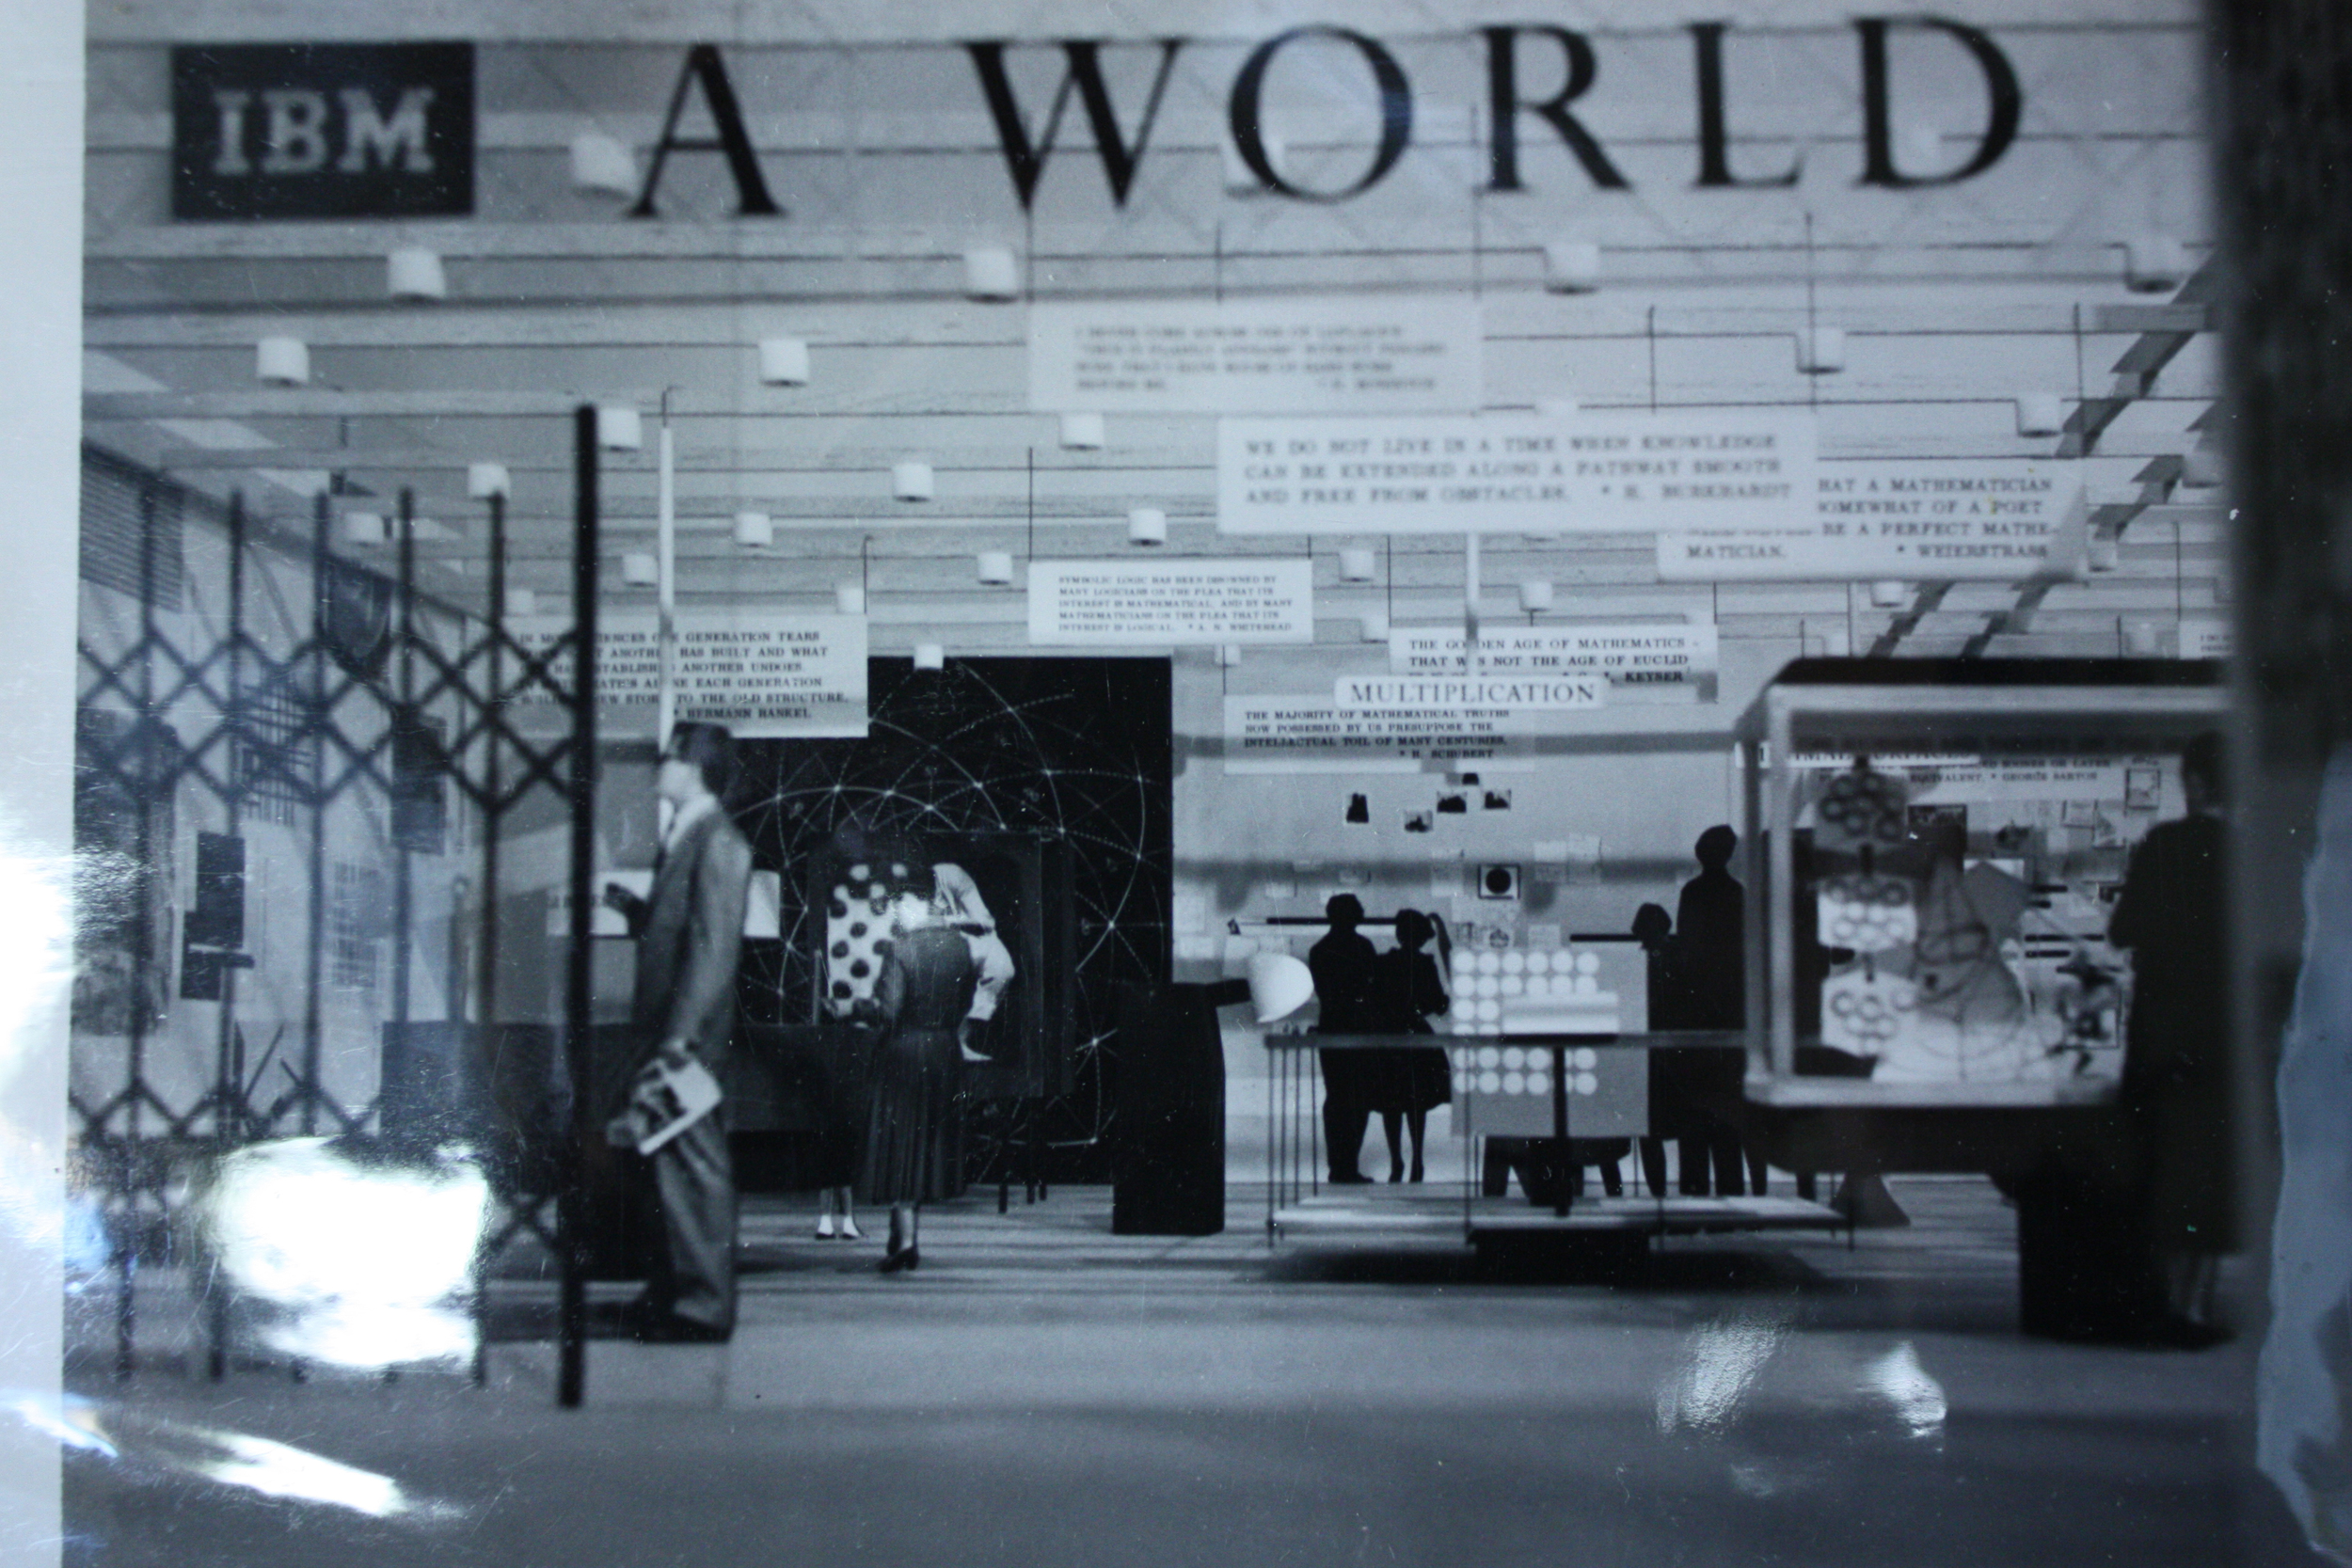
In our case, this was the easy part. Michael had an obsession knack for eBay bidding that had left him with unreasonable quantities of the Eames communication design pieces they created for IBM in the 1960s-70s -- posters, videos, books, and much more. We extended our research to visting John and Marilyn Neuhart to hear firsthand what it was like to work in the Eames Design Office. We were fascinated by the parallels between the work the Eameses did to de-mystify computers during the era of mainframe computing and the work tech companies do explaining their products - Google searches? DNA testing? - to audiences unfamiliar with their product.

Step 2: Run the Numbers
We created a proposal for our exhibition, and secured a $15,000 grand from SiCa, the Stanford Institute for Creativity and the Arts. When Michael met with Cara McCarty, Curatorial Director at the Cooper Hewitt (the Smithsonian's National Design Museum) to get advice, she just about laughed him out of the room when she heard how small our budget was. But fortunately, with her help as well as the support of Stanford's Cantor Arts Center and the IBM archives, we were able to stretch this funding to cover both our exhibition and one-day symposium.
What did we spend this money on? While we were lucky to have free places to hold the symposium and exhibition (being a student is the best!) we still had to pay for:
- Food and drinks for the exhibition opening and the symposium
- A/V support for the symposium
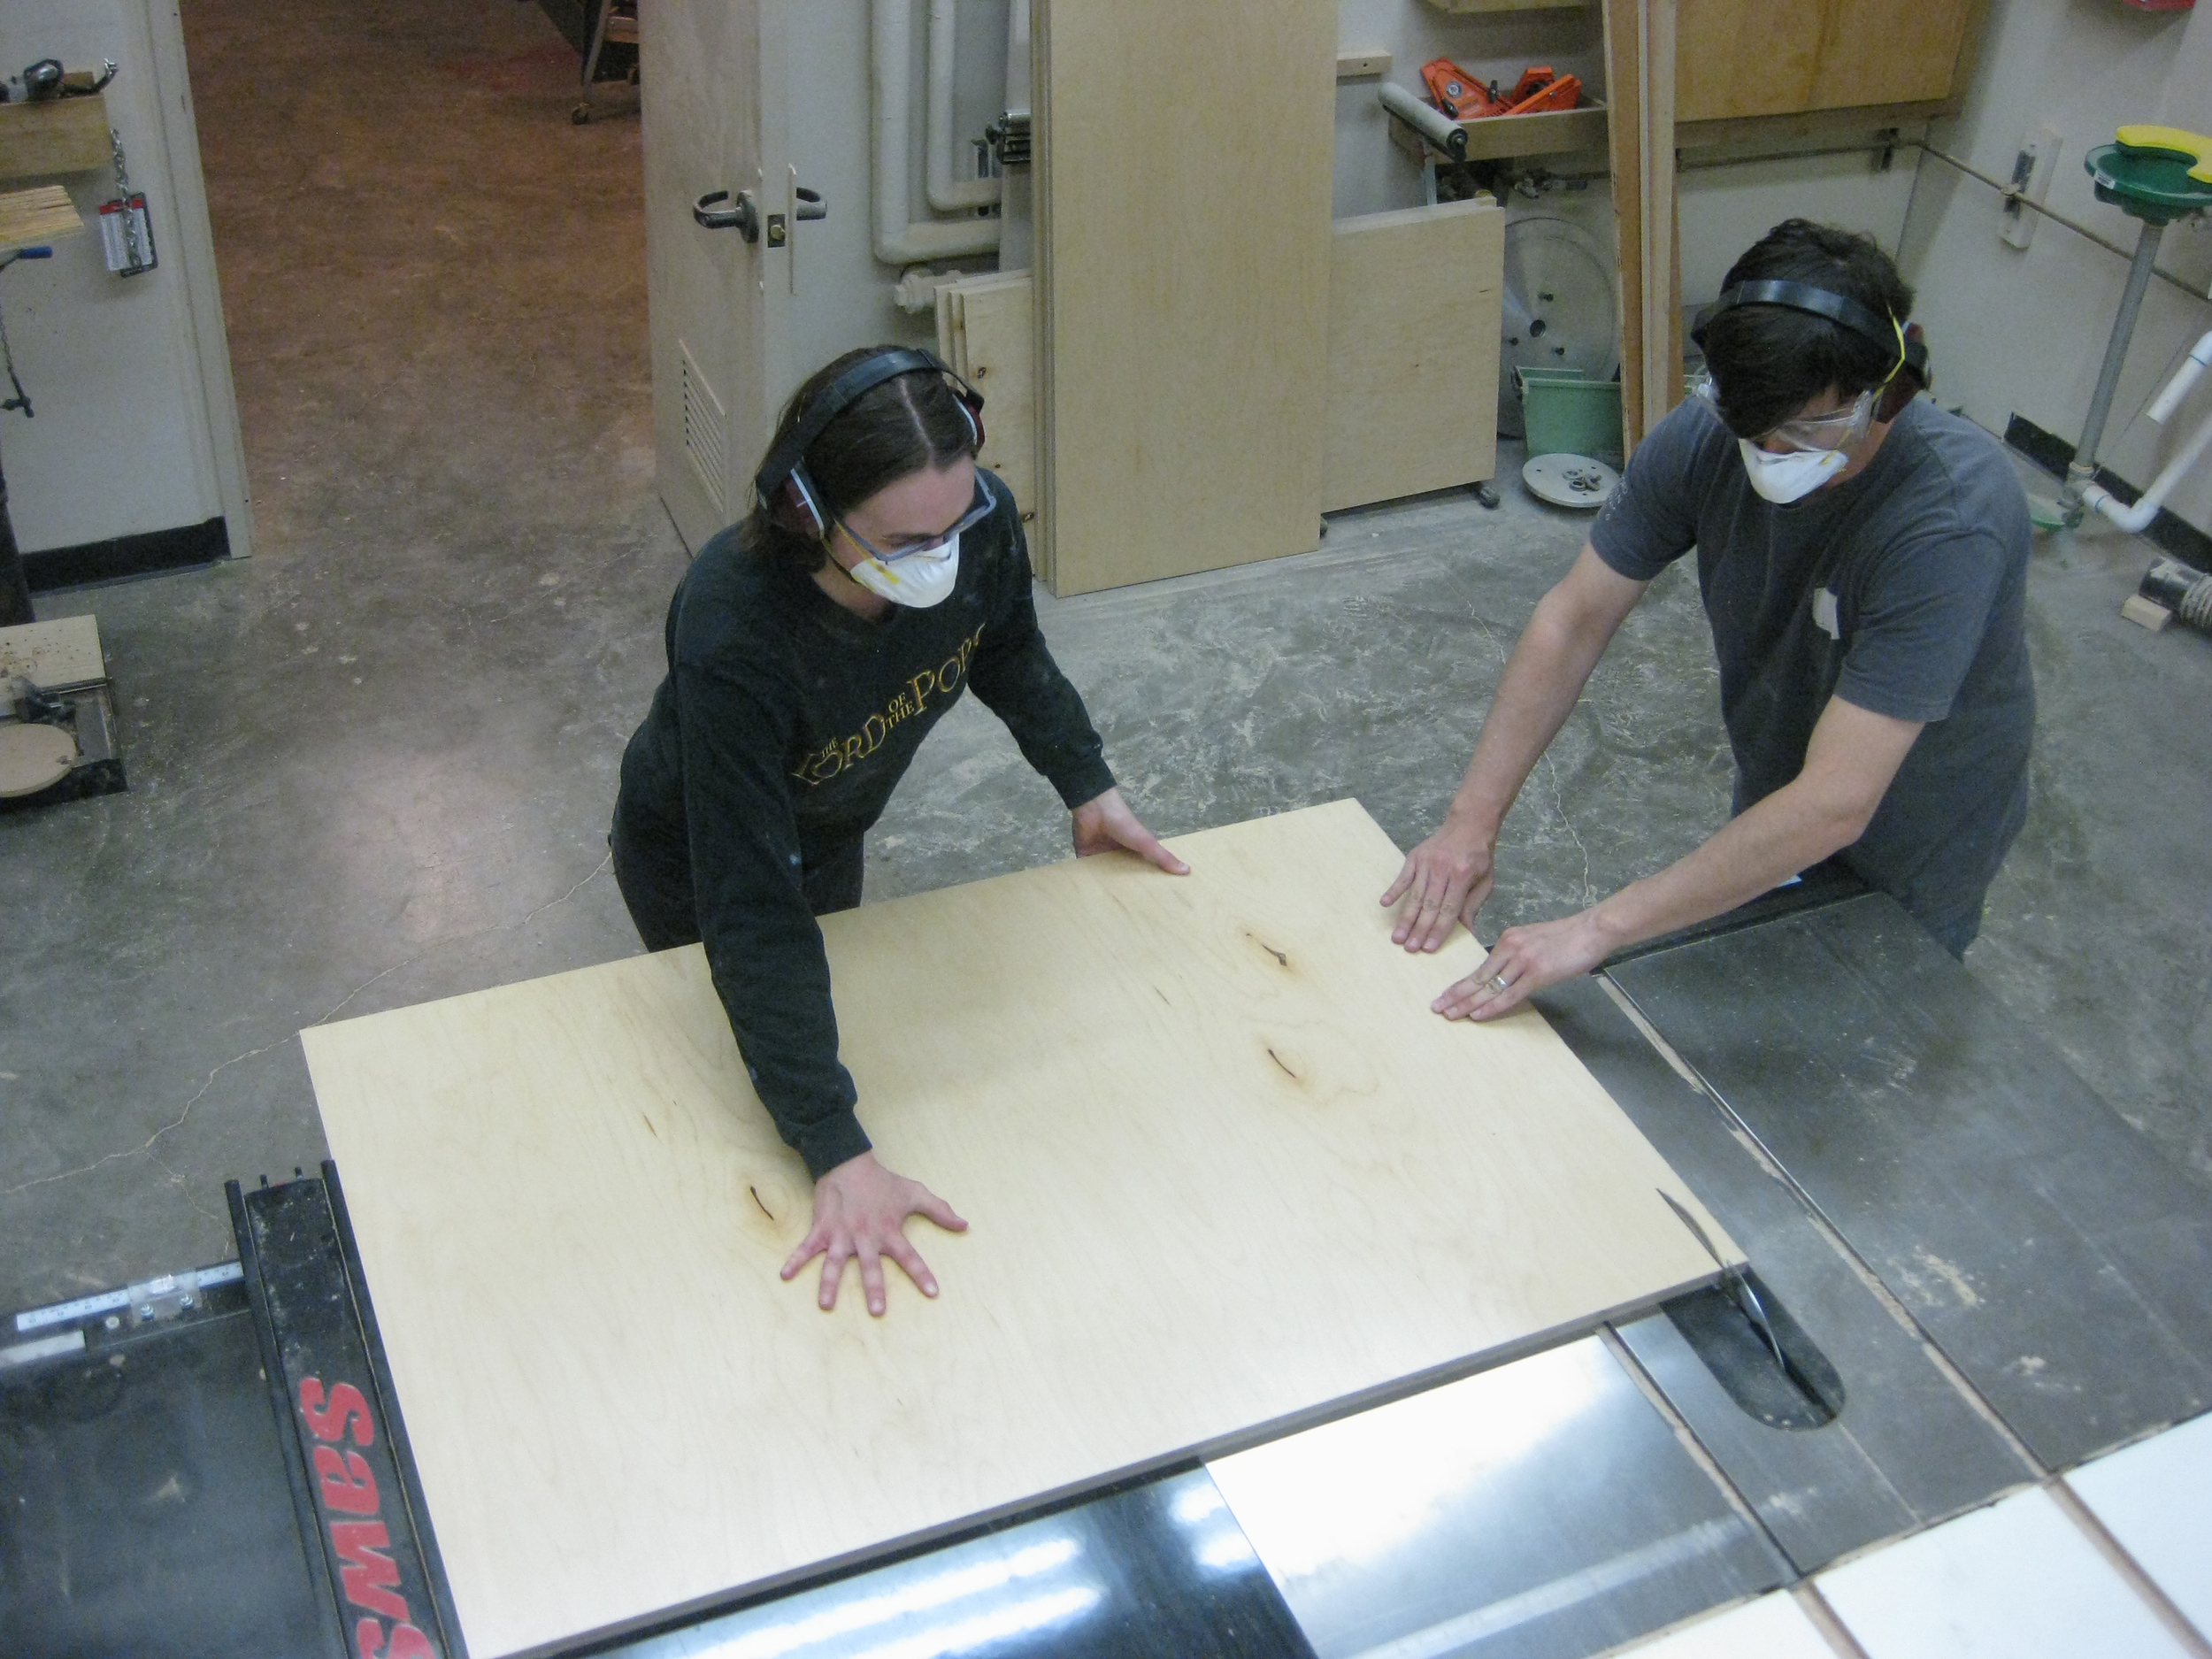
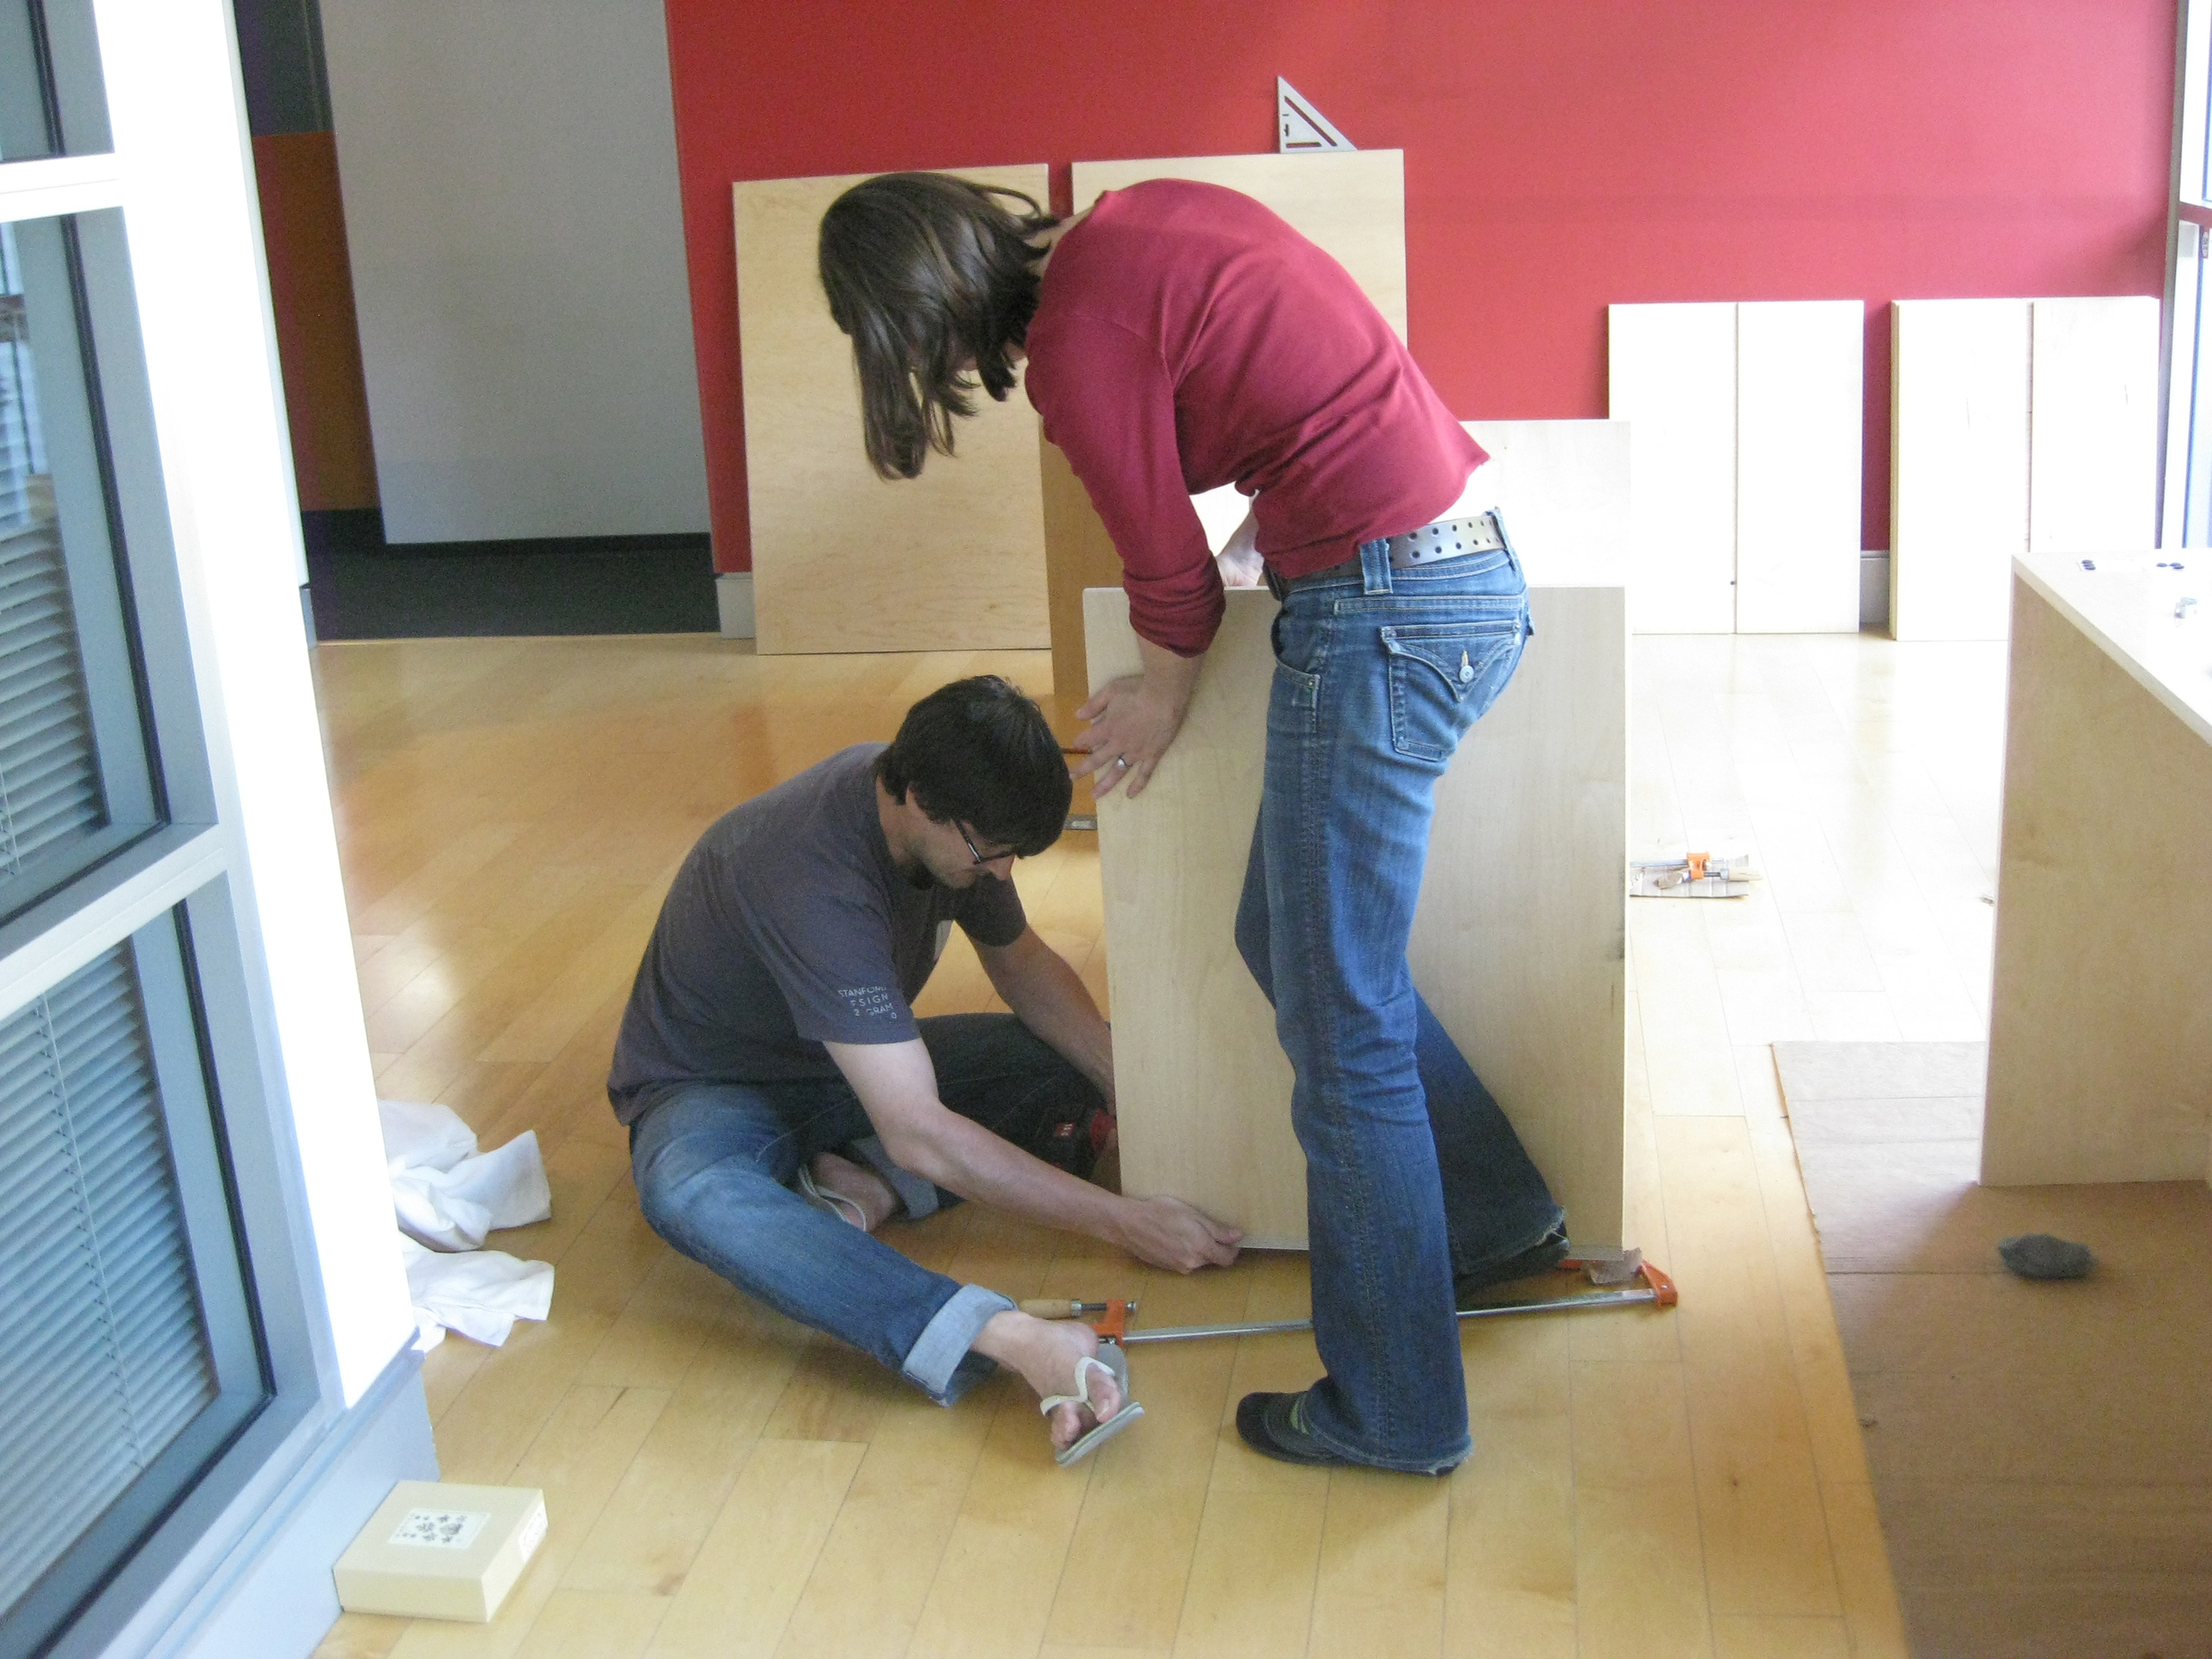
- Foam core for displaying artifacts, some of it archival quality
- Raw materials for the wooden display cases
- Acrylic covers for the top (custom-made to spec)
- Hanging system for photos (definitely a good investment!)
- Printing posters and booklets
- Vinyl lettering for the exhibition wall
- Tickets for various museums to research exhibitions
- Website domain and hosting
- Airline tickets and hotels for speakers at the symposium
- Speaker honoraria
- A videographer
Step 3: Figure out the story you want to tell
Without a narrative to tie everything together, an exhibition can feel like it's just a lot of stuff in display cases. Given our location in Silicon Valley, it was important to us to make Eames X IBM relevant to our local audience, so we chose to tell the story of how the Eames work for IBM parallels the current-day work of designers in the technology industry. We titled the exhibit 'Eames X IBM: Communicating Technology', and focused on how design was used to introduce the general public to the complex new technology of computers.
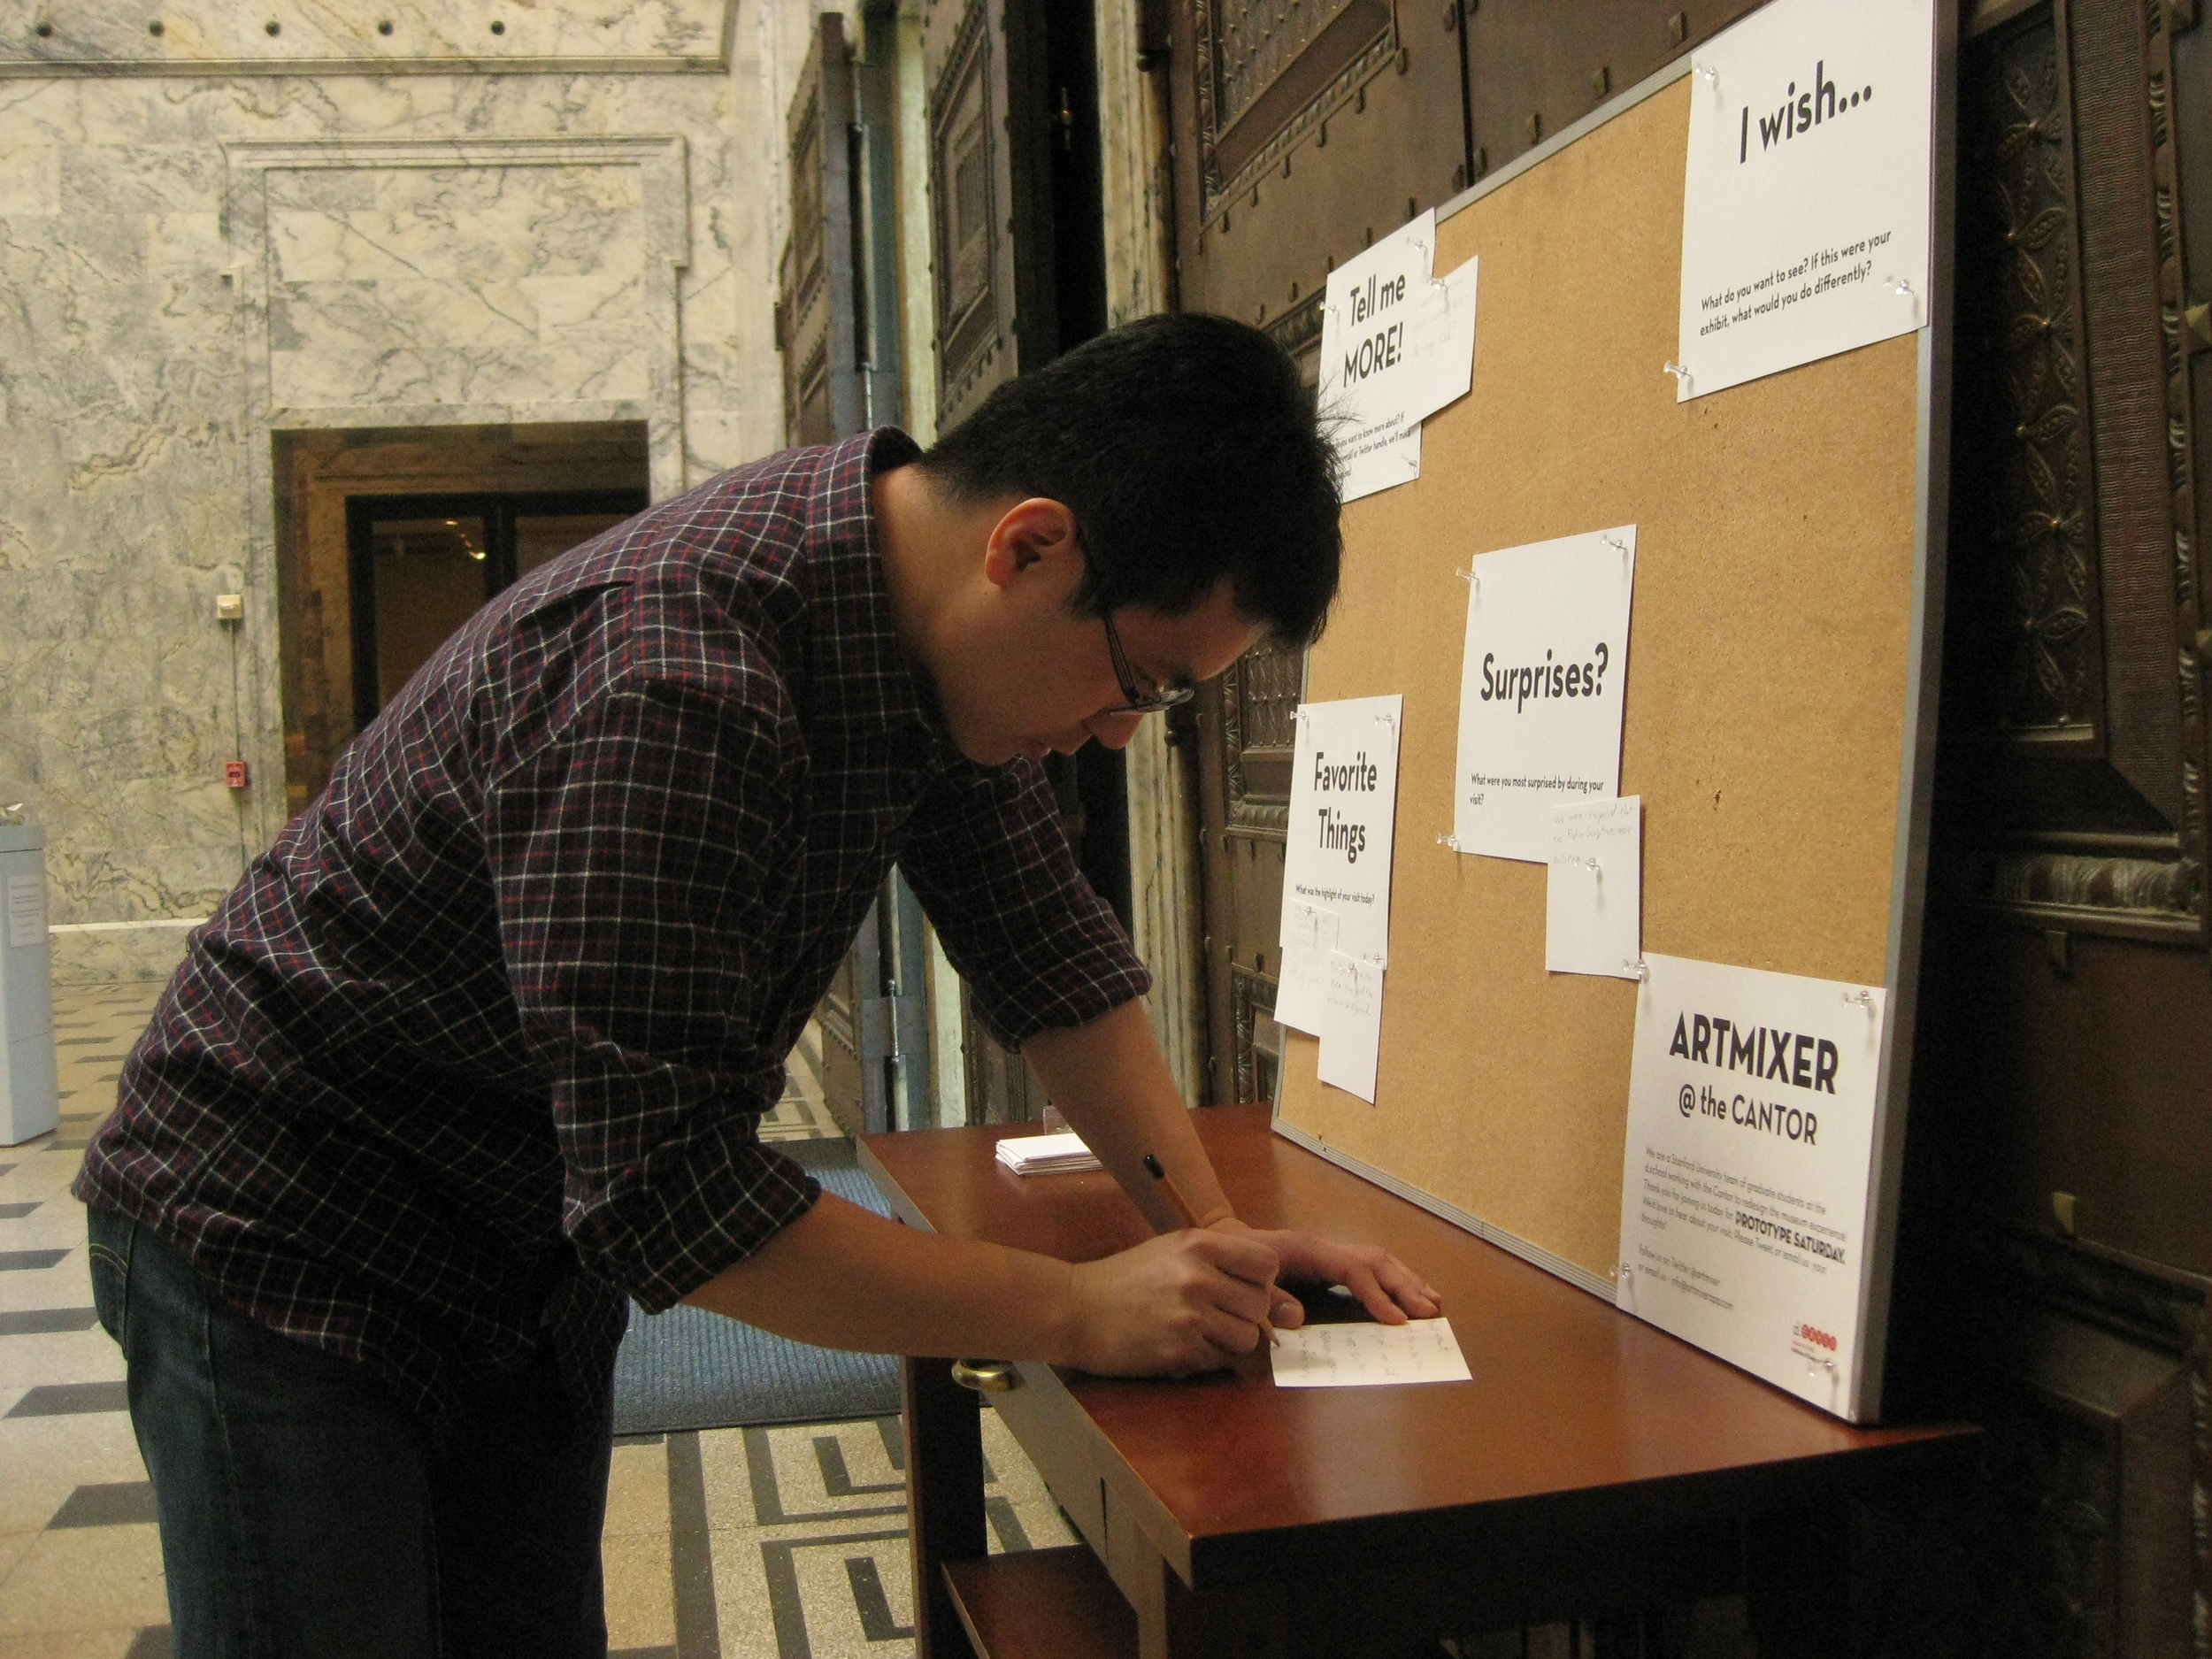
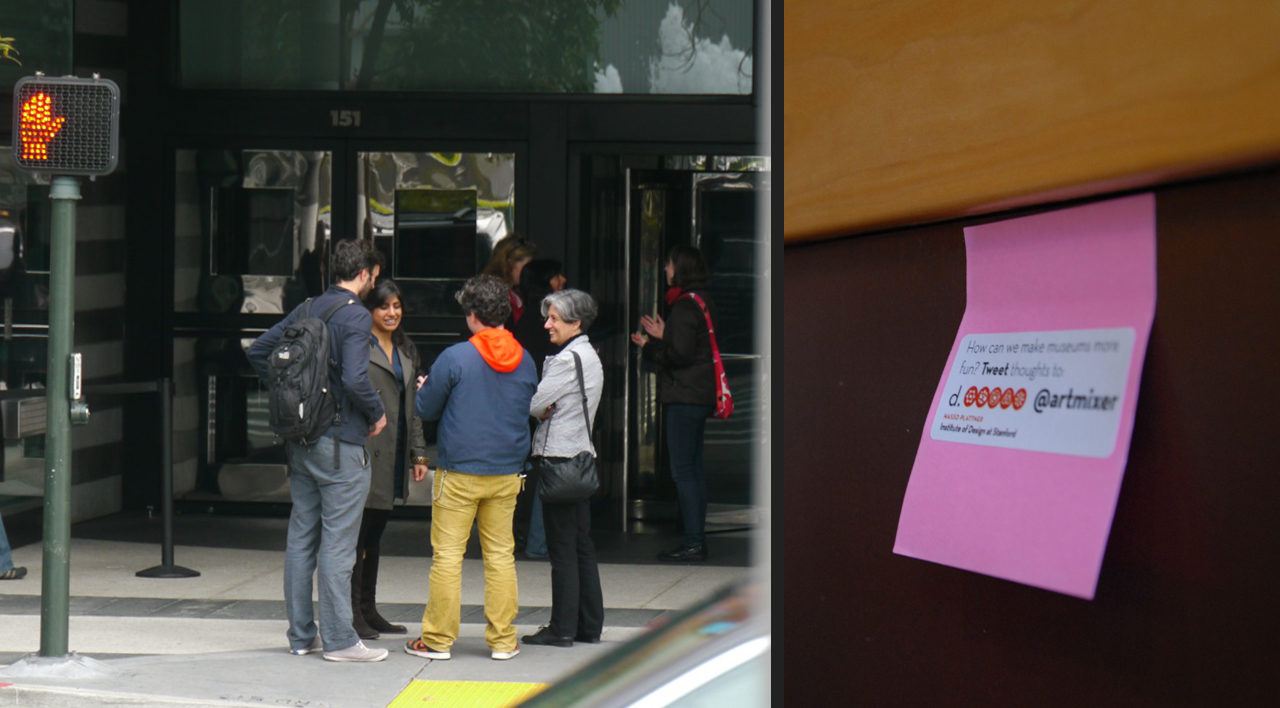
Step 4: Needfind yourself some insights
We spent quite a bit of time stalking visitors at existing museums - SFMOMA, the DeYoung, theCalifornia Academy of Sciences and the Cantor Arts Center. After these observations and a few interviews, we had a number of insights into what was broken about the museum-going experience. Including:
Museums stink at storytelling.
People are great at storytelling.
People love to share their experiences.
Using these insights, we came up with something called a Point of View (POV), in the standard d.School form of [USER][NEED][INSIGHT]. Over the course of our 18 months we created a number of different points of view, each of which acted as a hypothesis we could prove or disprove with a round of prototyping. Here is an example of one of our POVs:
Visitors with only one hour to spend need new ways of navigating museums in order to feel confident that they’ve seen something great.
Step 5: Apply some science to your insights
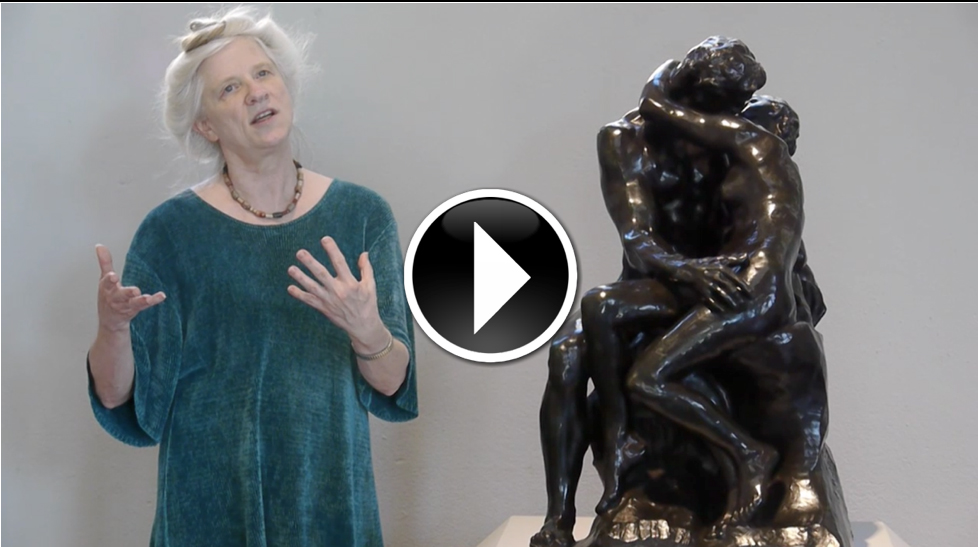
Michael and I used a class at the Stanford Business School (GSB) as an excuse to look at the museum experience through the lens of positive psychology. Check out this post for a full description of that project.
Step 6: Recruit an A-team to make it happen
We put together an this video and showed it at a d.School recruiting event.
At this event, Michael and I were able to add two journalists - Christina Farr and Priyanka Sharma - and law student Tony Lai to our team. They brought needed energy and bandwidth to the team, which we needed for the hard work of prototyping solutions during Stanford's spring quarter.
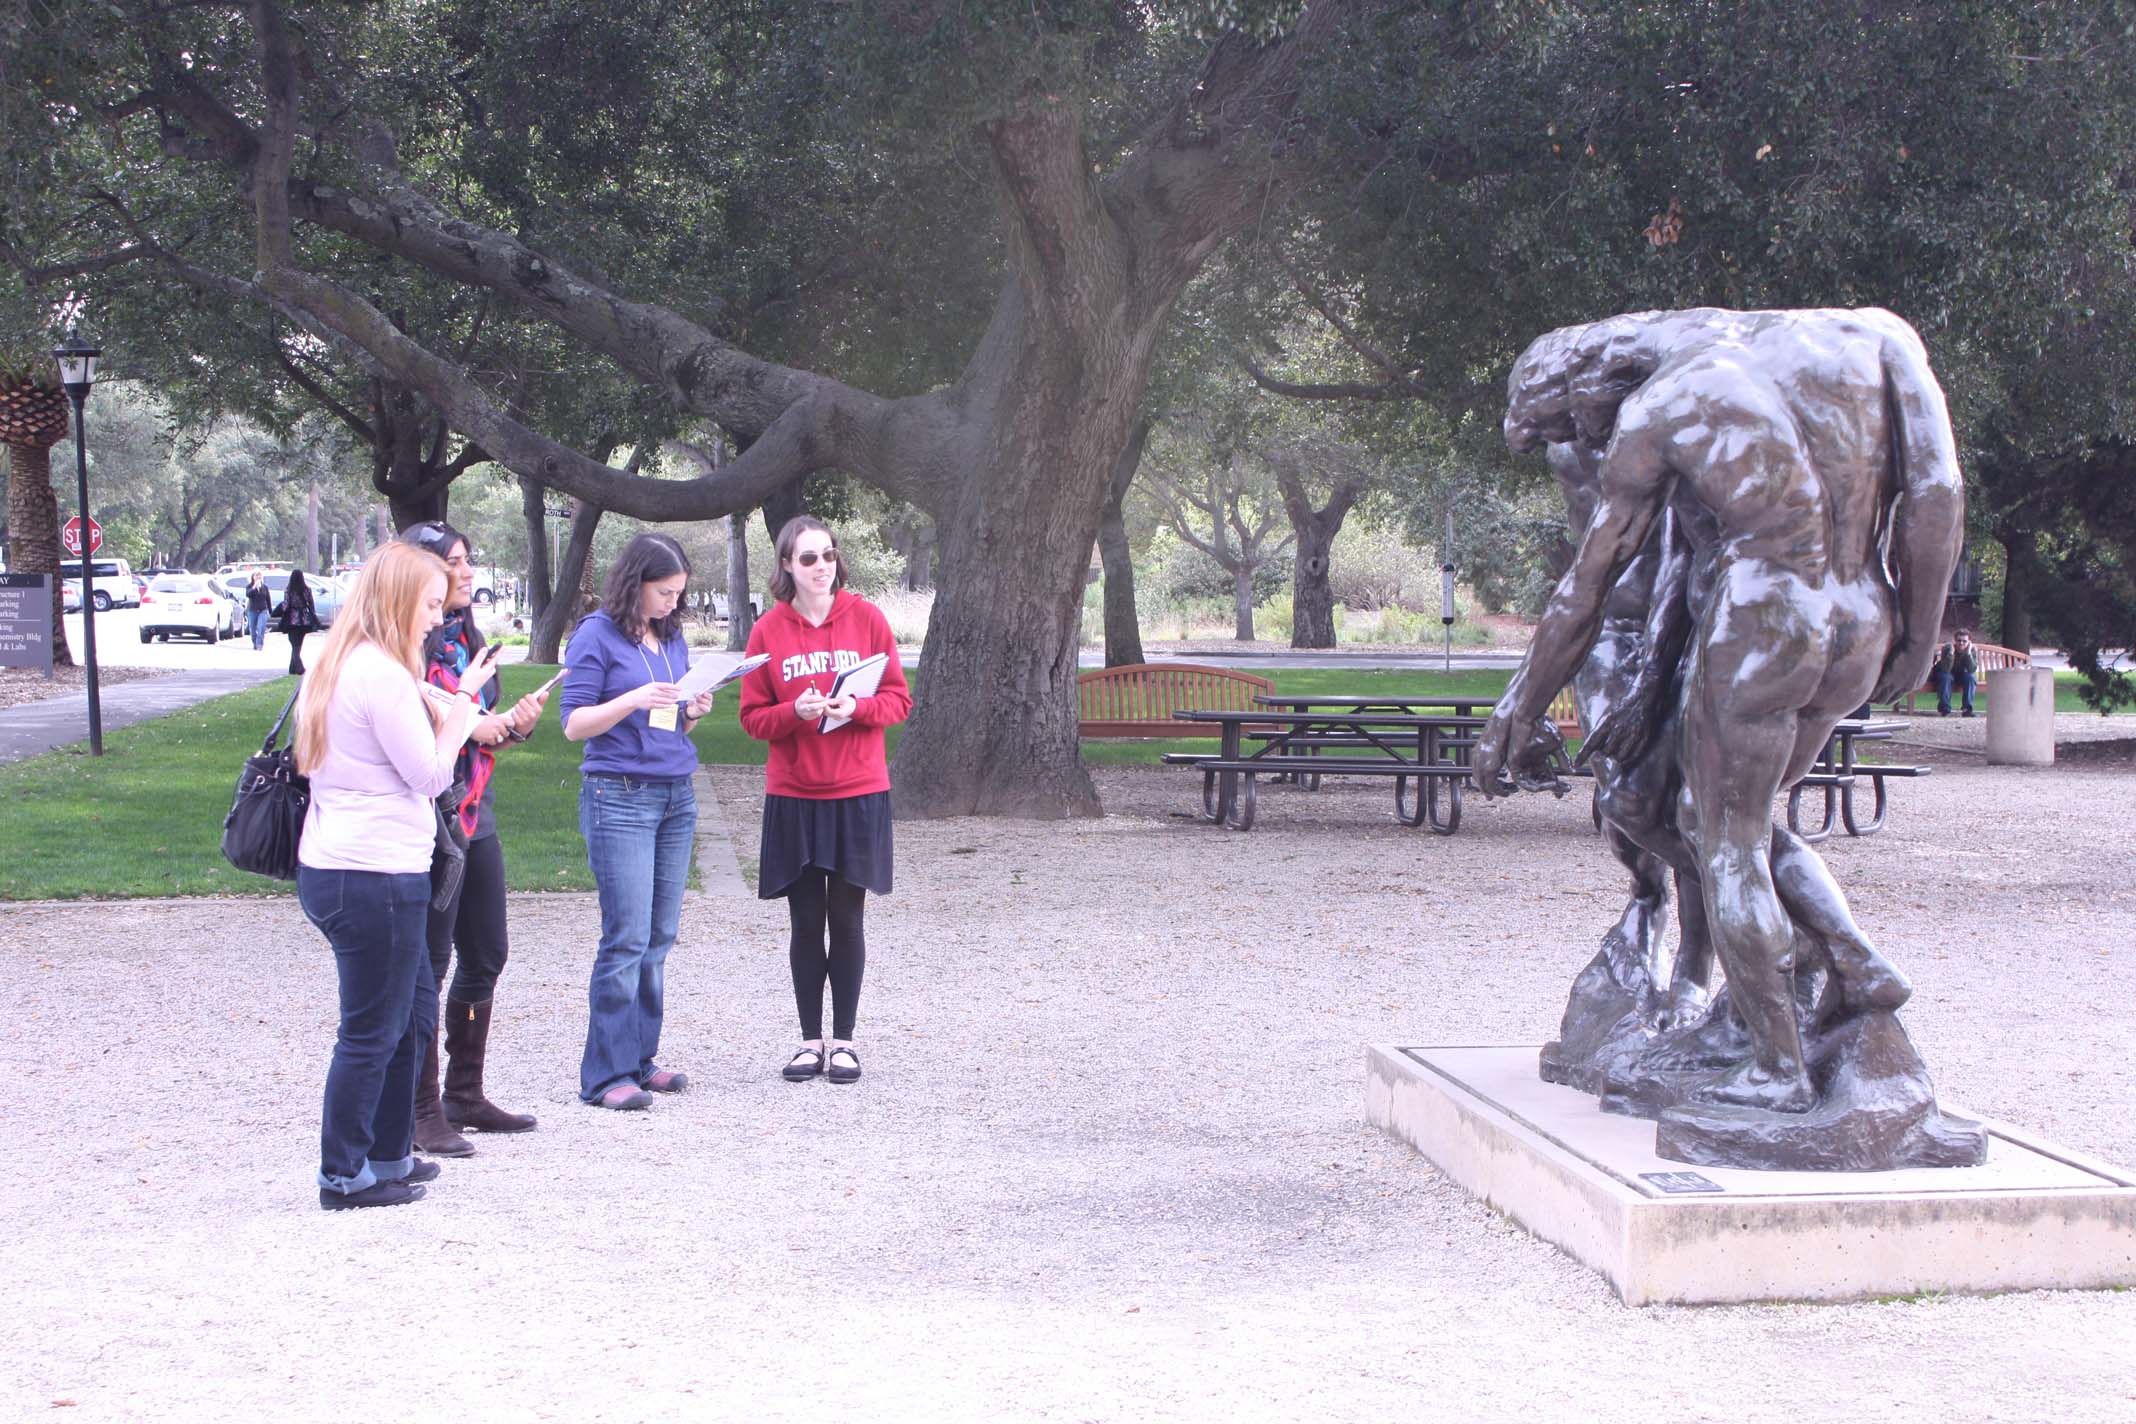
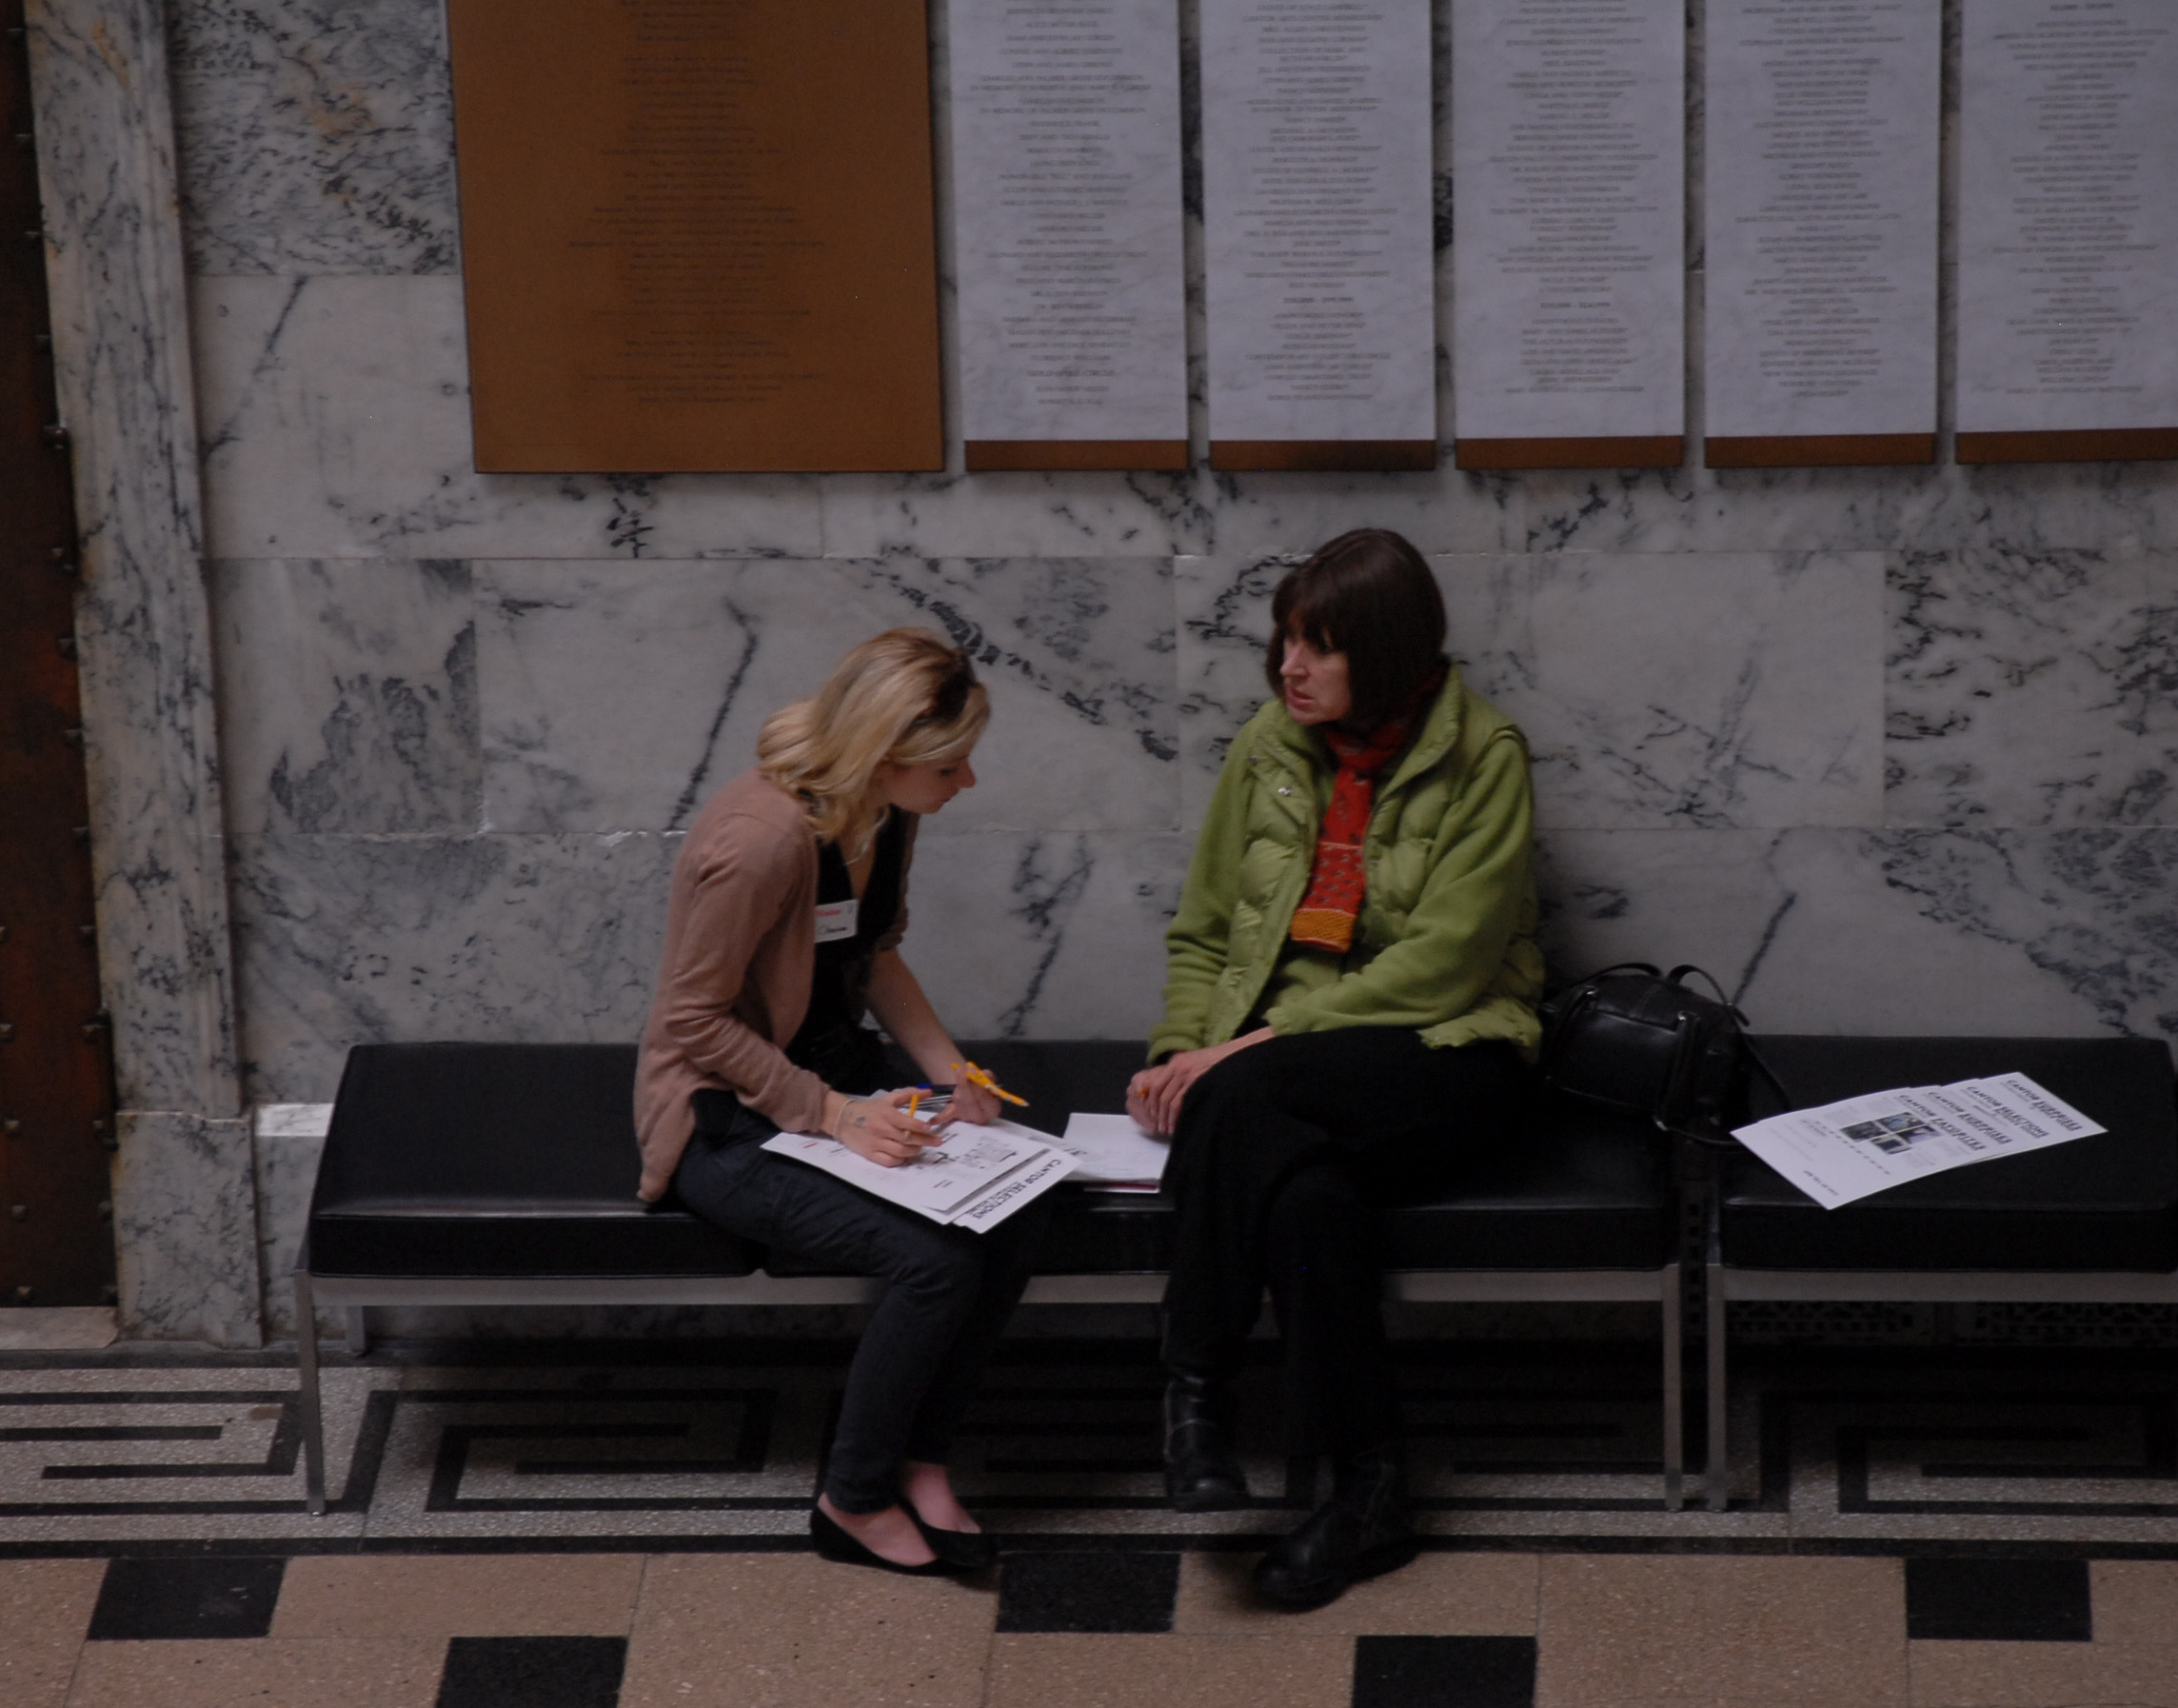
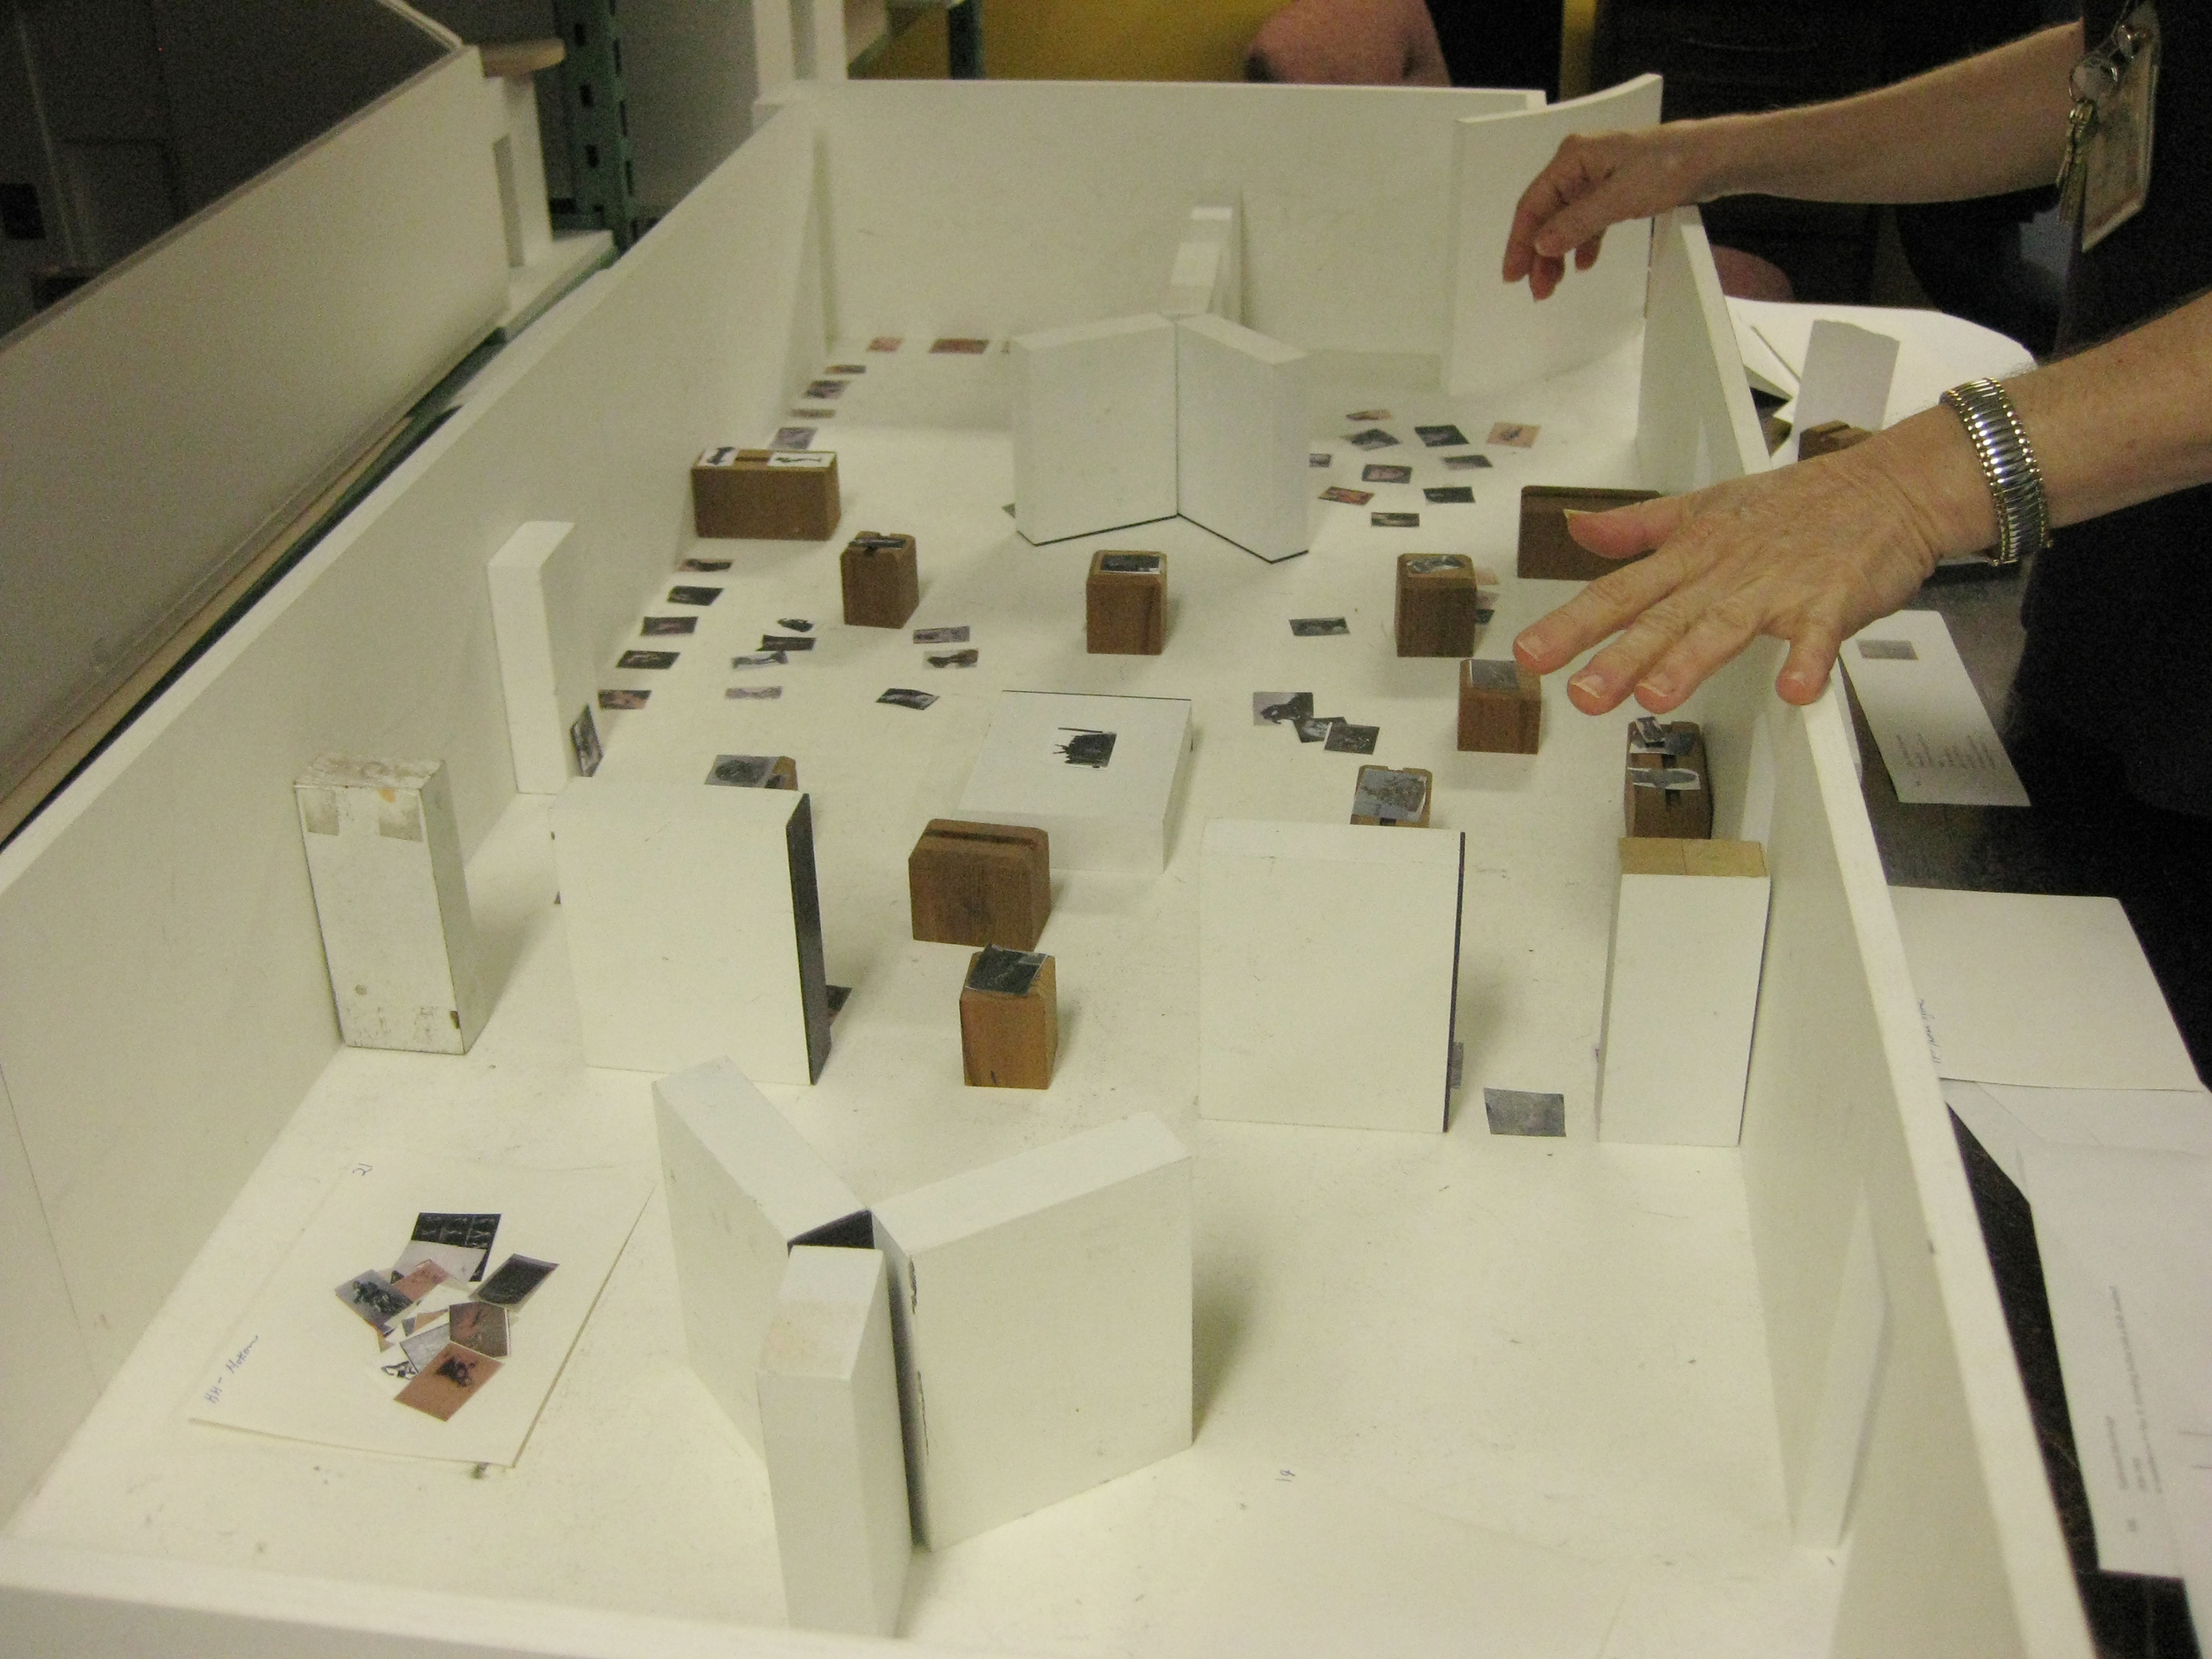
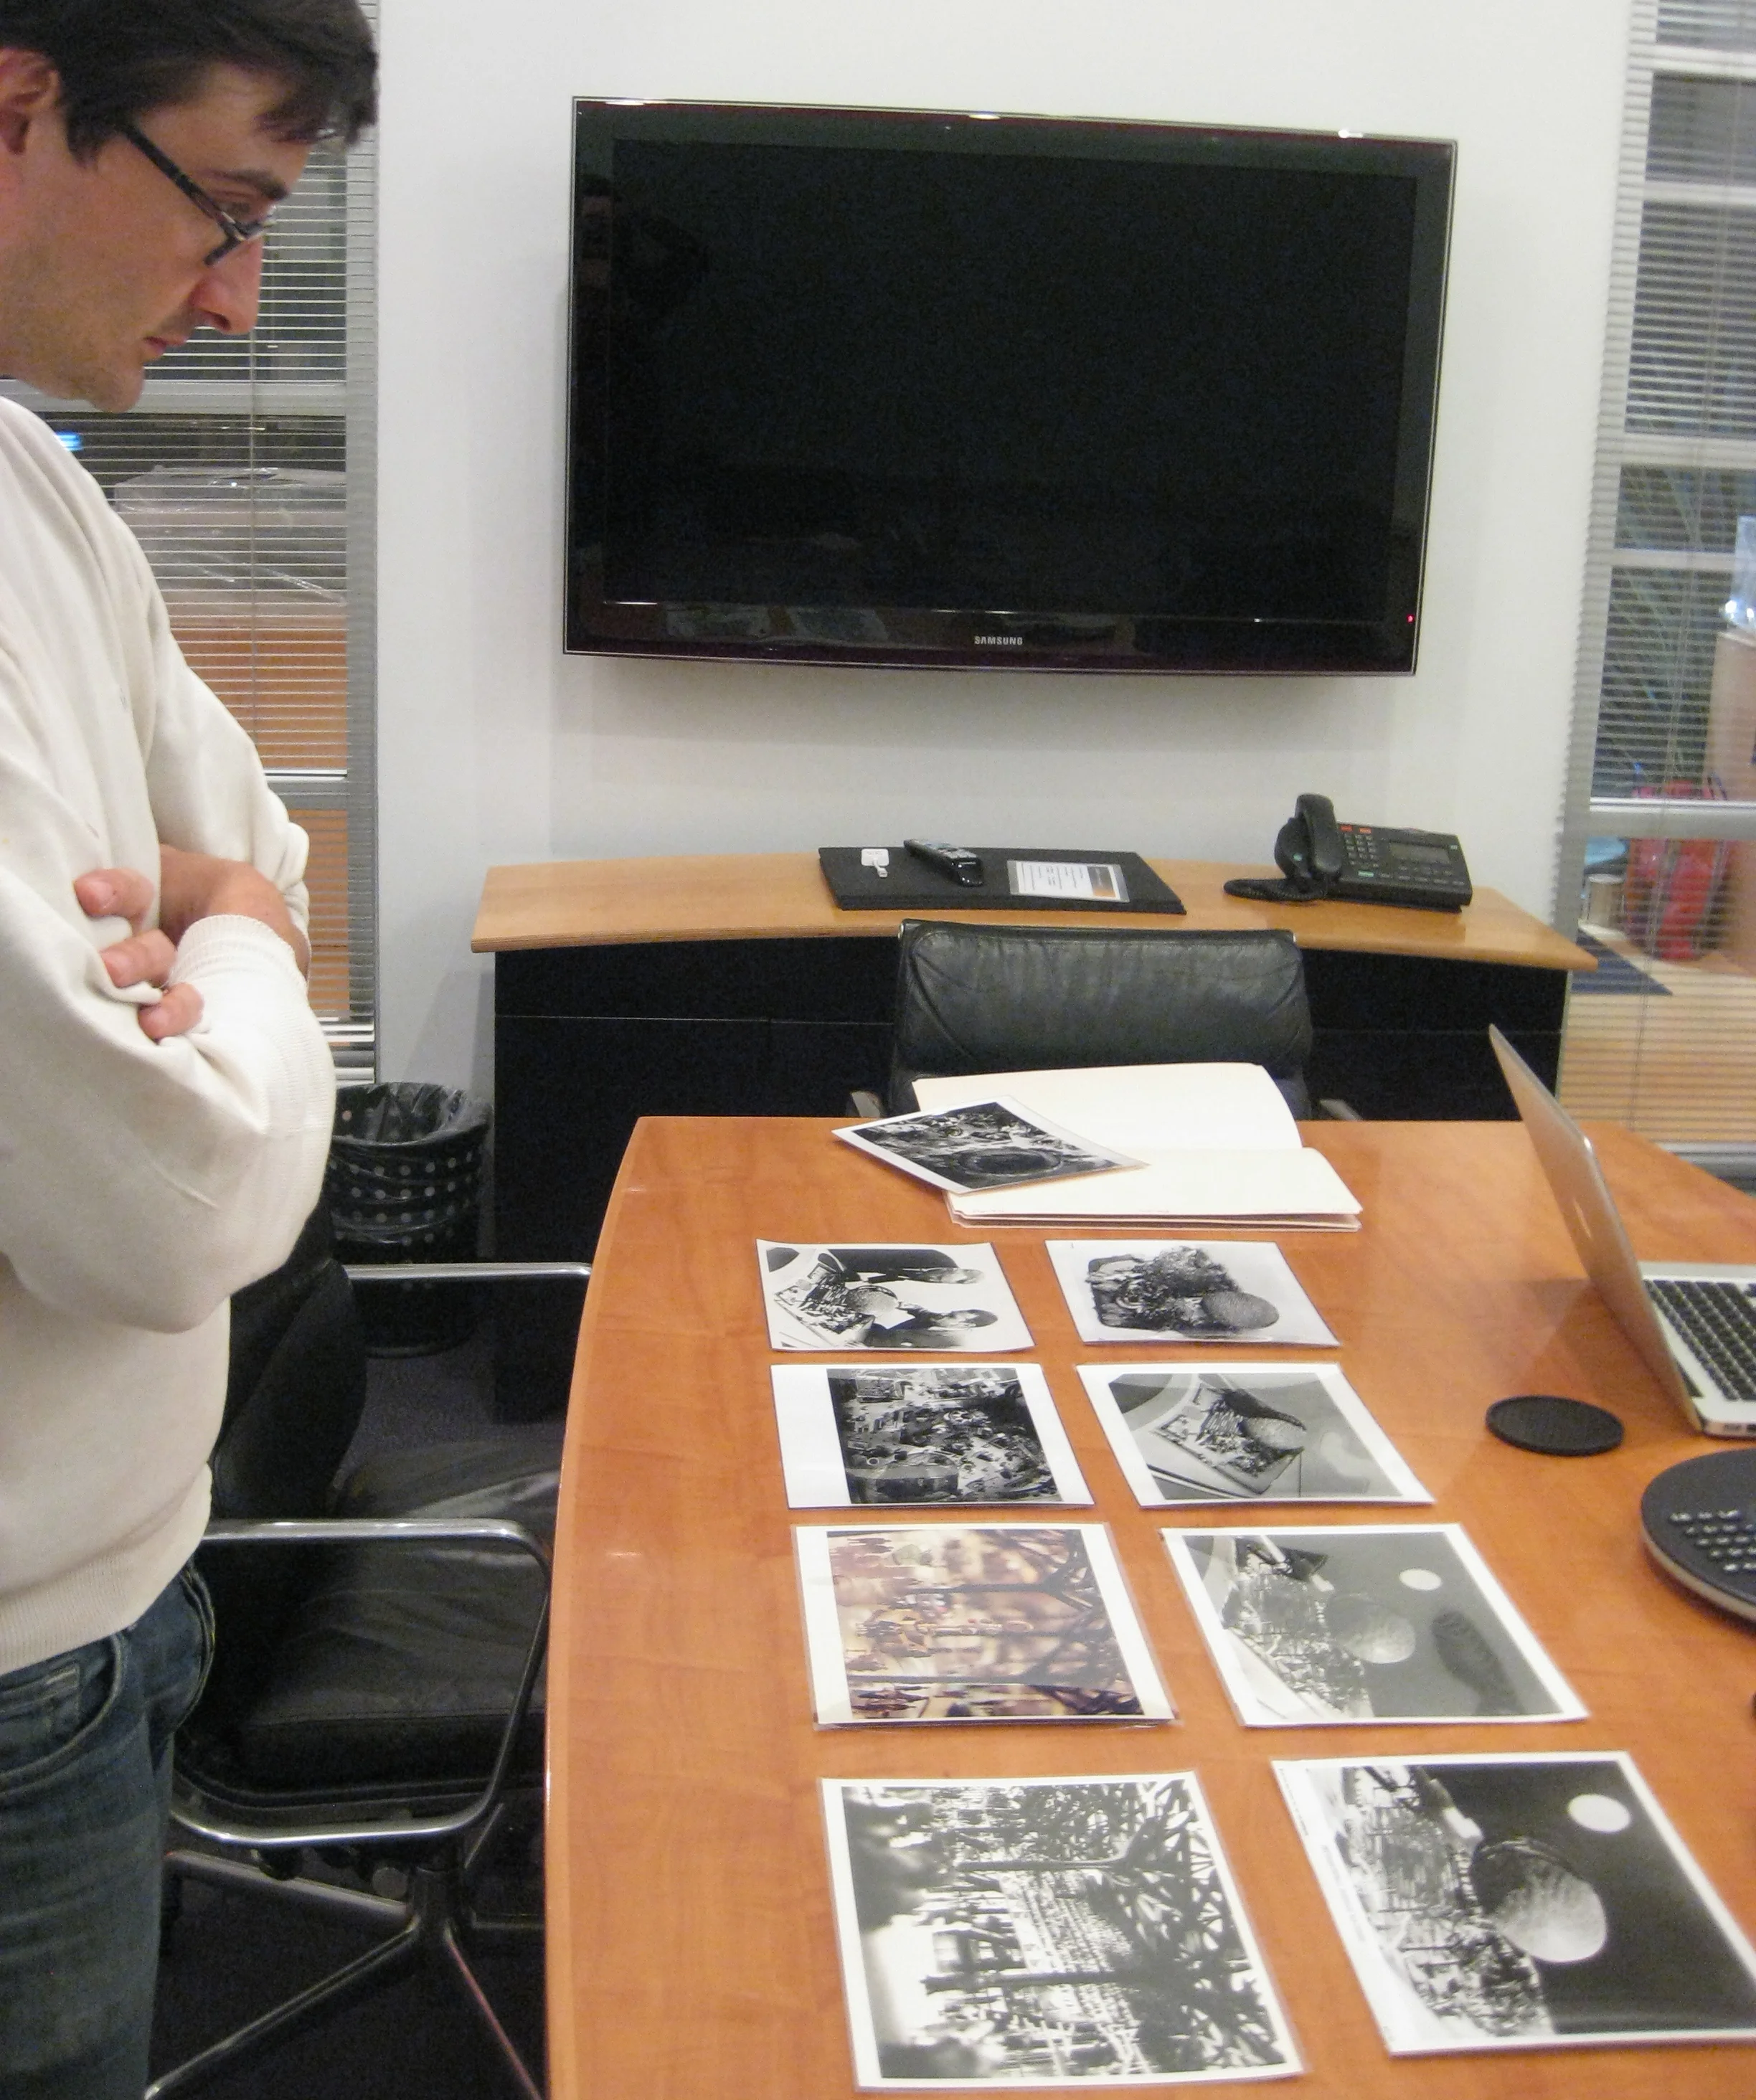
Step 7: Prototype a bunch of ideas & fail sooner rather than later
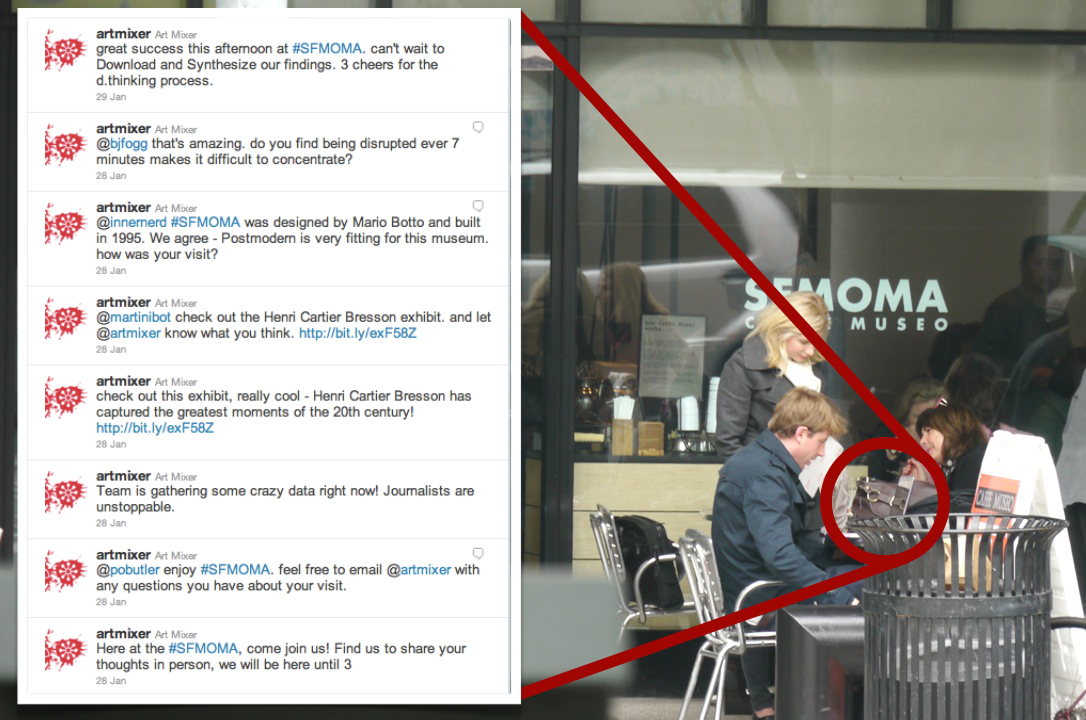
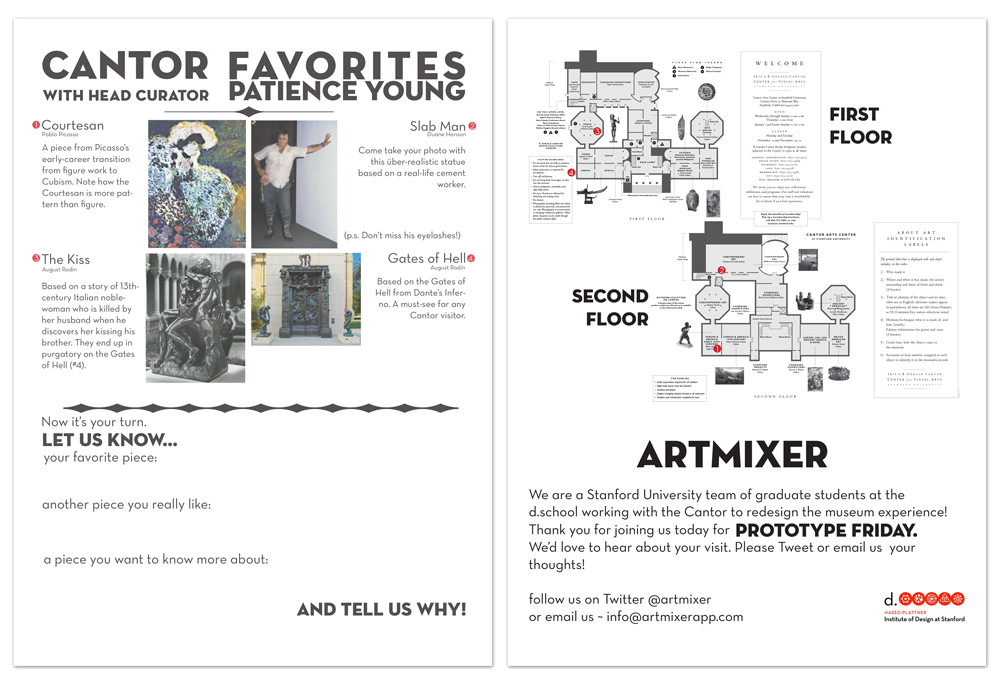
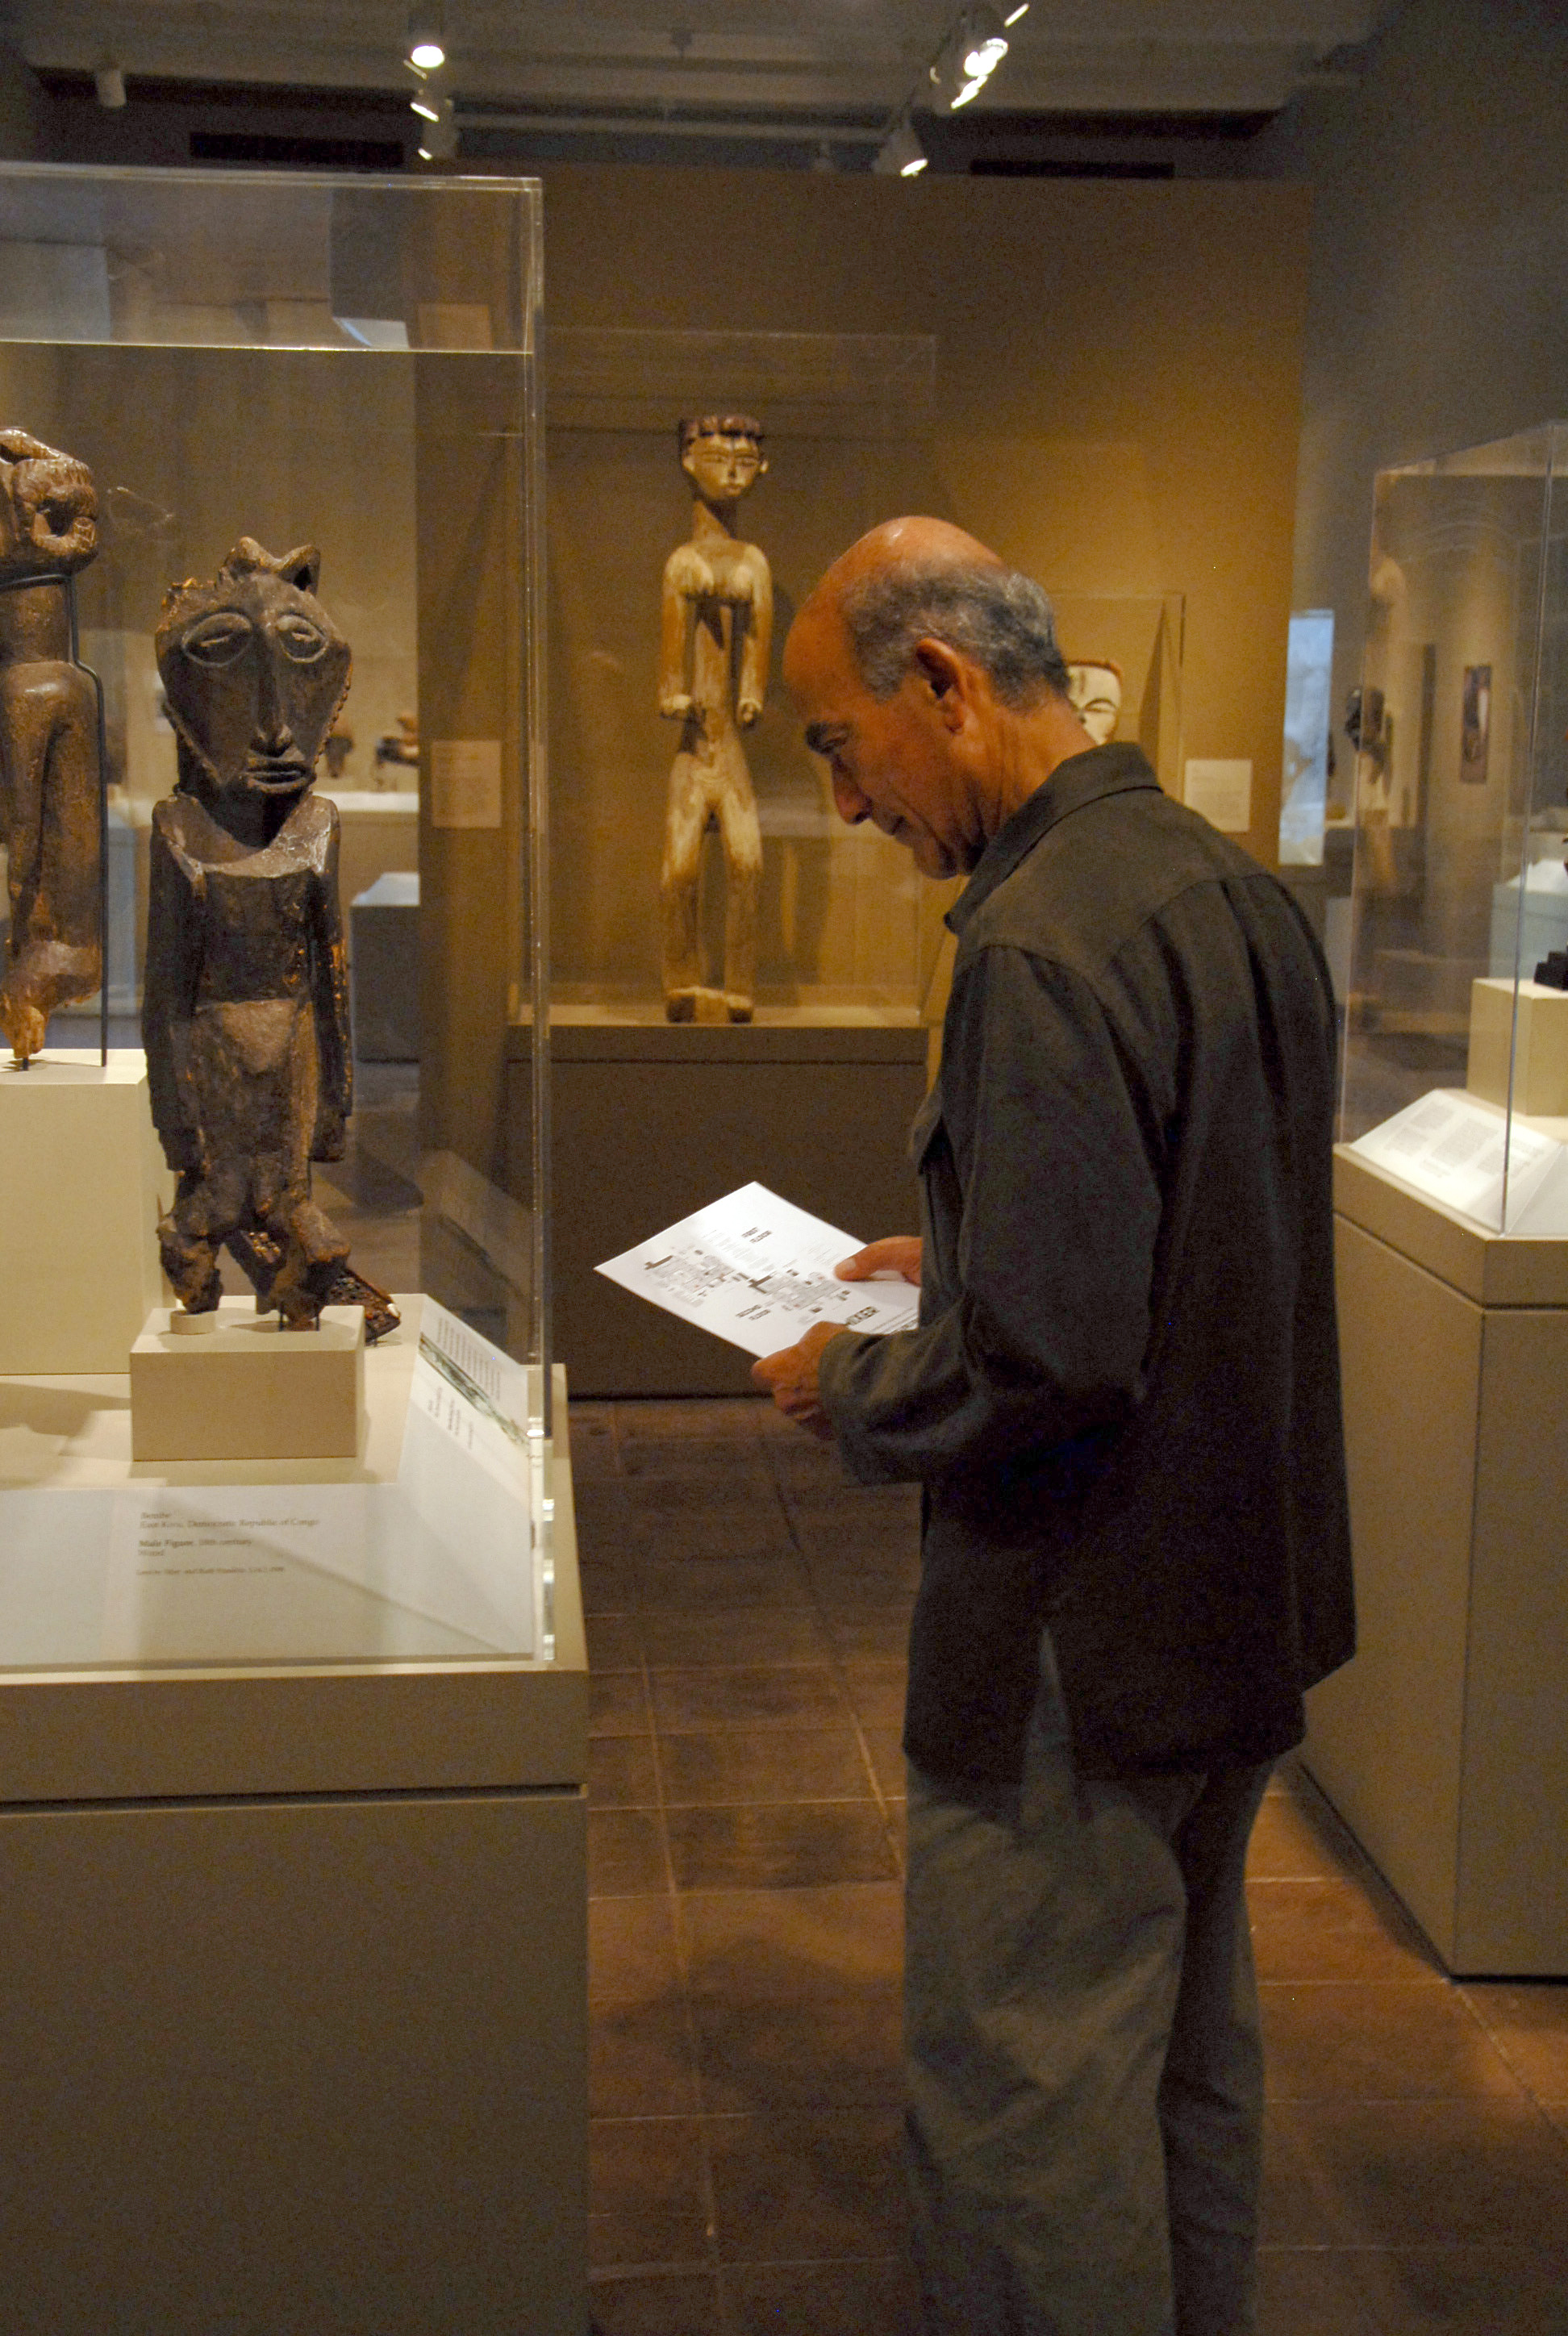
Our team started spending a tradition of "Prototype Fridays" at the Cantor Arts Center. Through this weekly exercise we discovered a number of insights (e.g. people want to use iPhones to learn more about art, but don't want to use iPads to watch videos, since that doesn't feel like they're engaging with the museum).
Step 8: Build like crazy
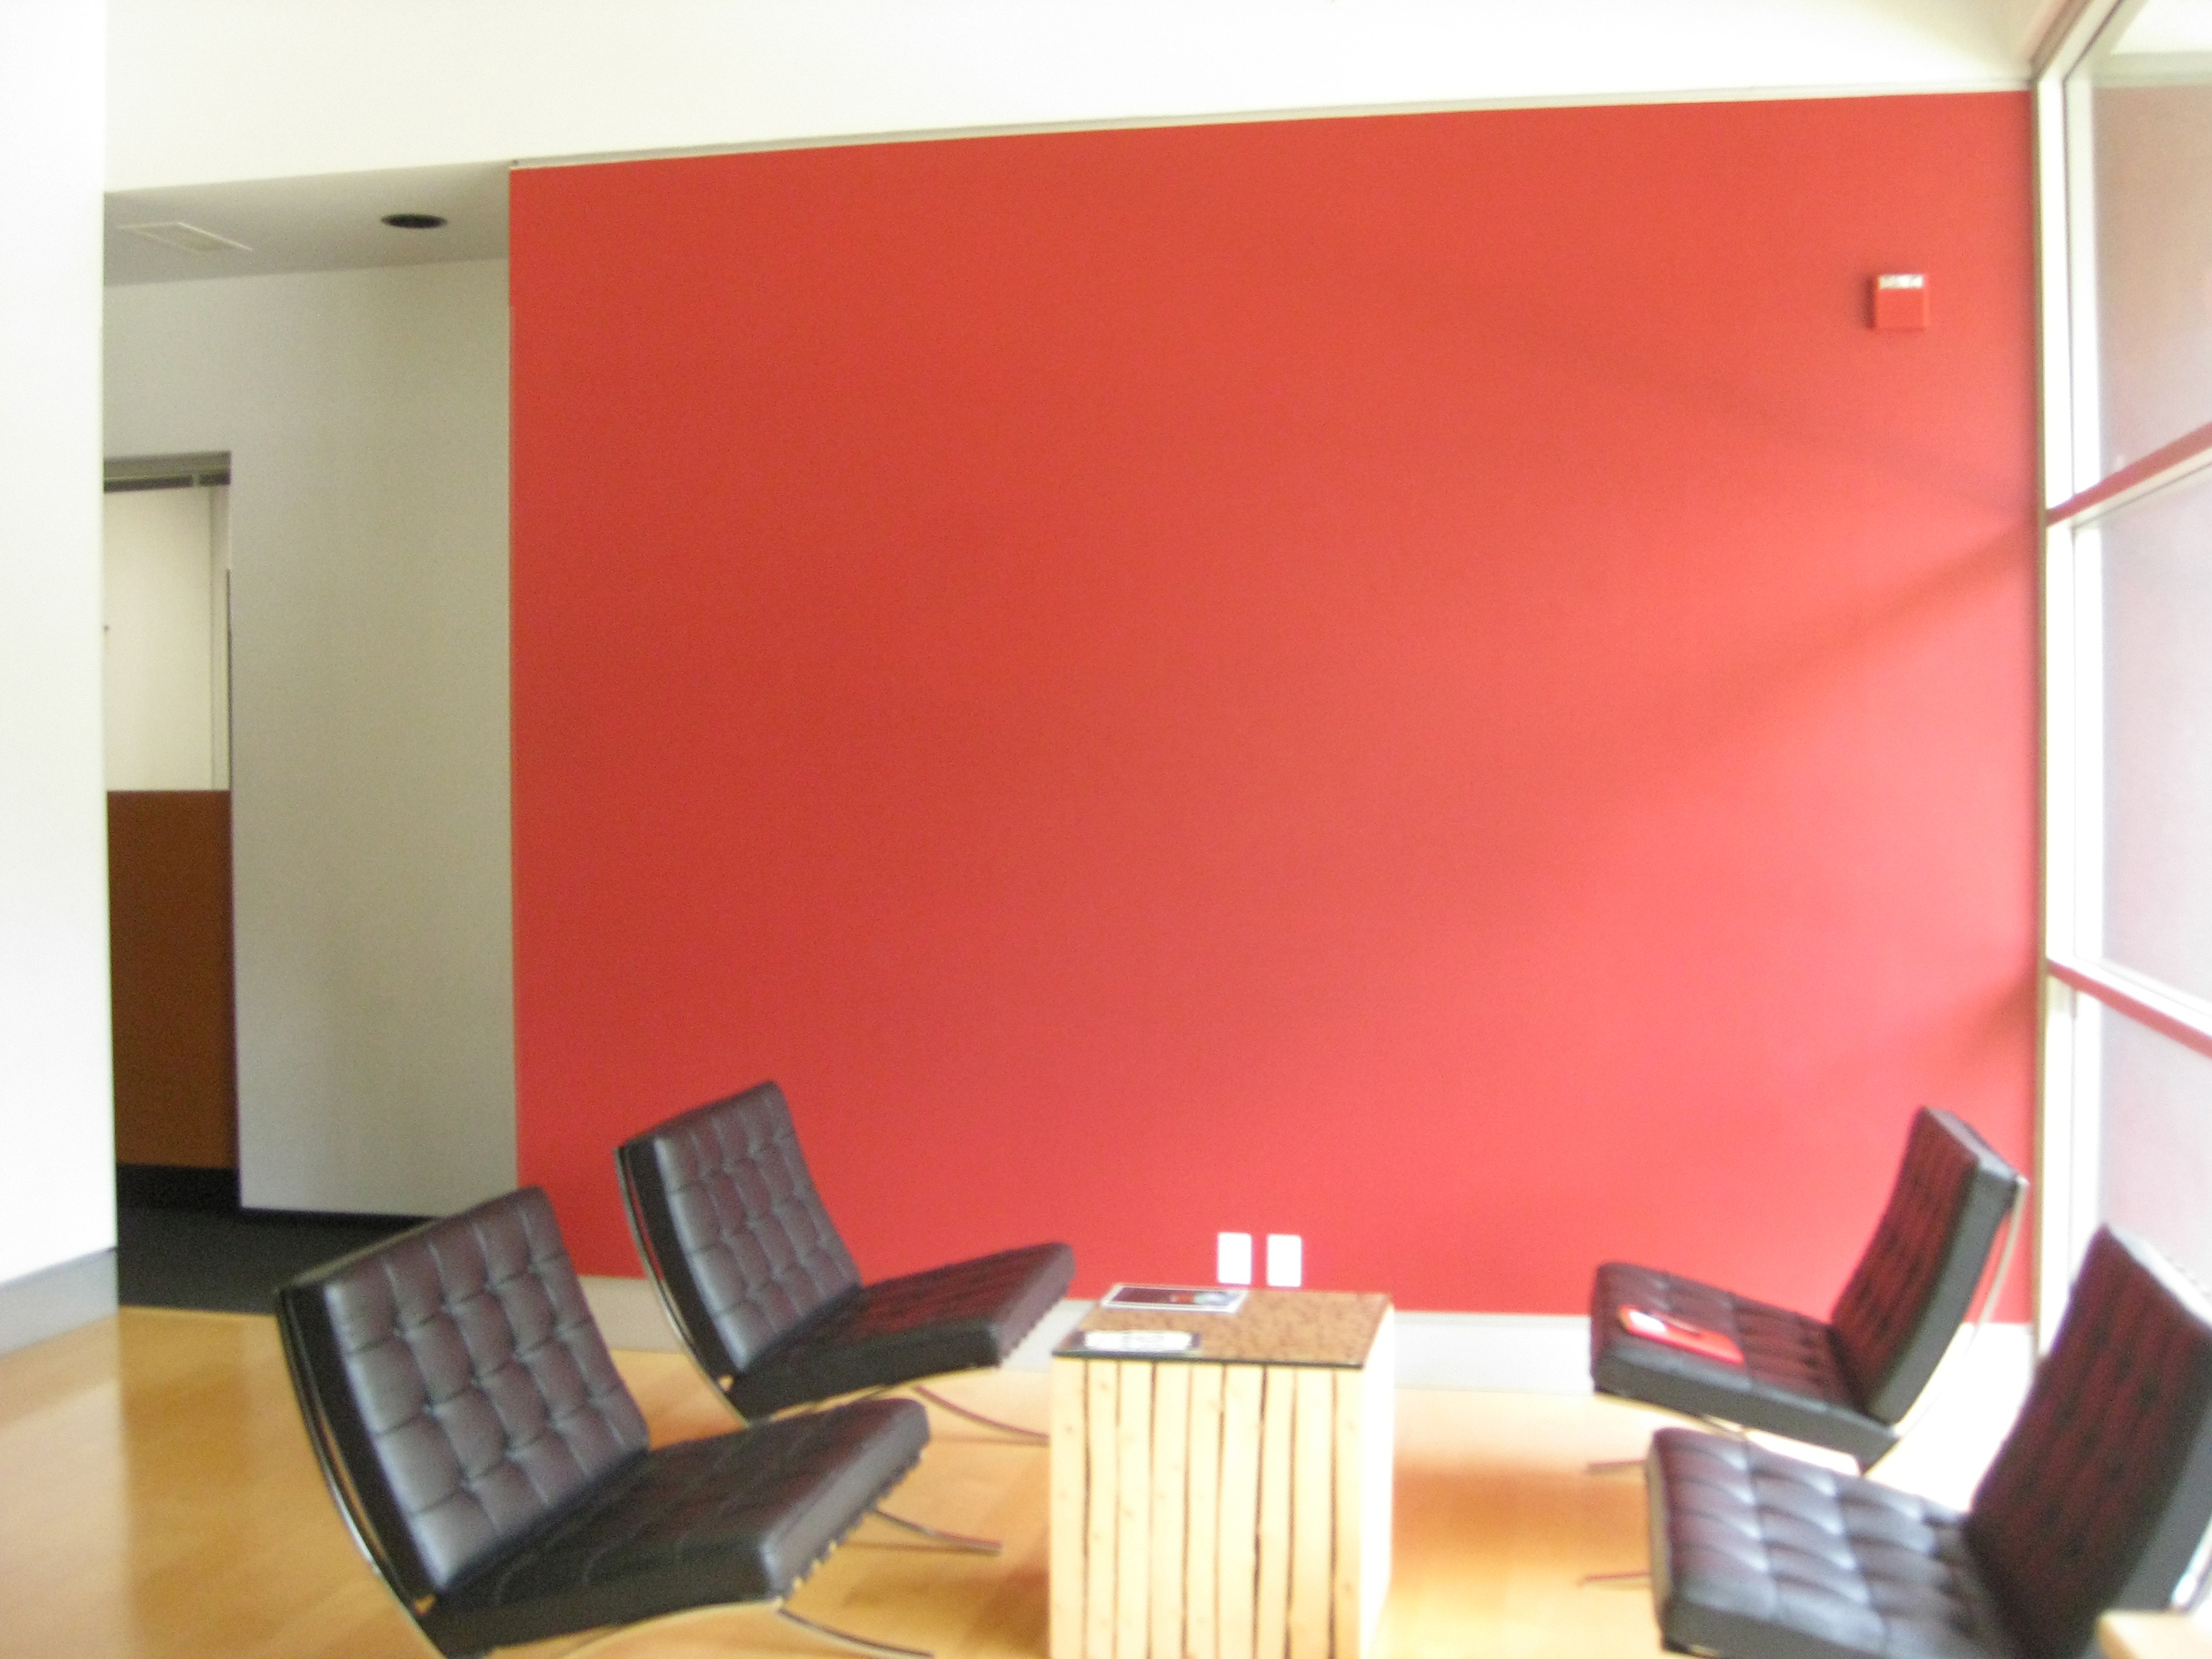
After dozens of prototypes, we had a good sense of what we wanted to do with our final exhibition. It then just came down to execution. Thanks to the generosity of John Edson at LUNAR, we had prime real estate in Downtown Palo Alto, CA.
Step 9: Invite important (and relevant) people to participate
To kick off the exhibit's opening, we held an afternoon symposium to bring the content to life. We invited Eames Demetrios, grandson of Charles Eames, David Kelley and the Alex Bochannek, head curator at the Computer History Museum, among other design and tech luminaries, to speak on everything from the Eames Design Office to running a leading design firm to curating an exhibition.
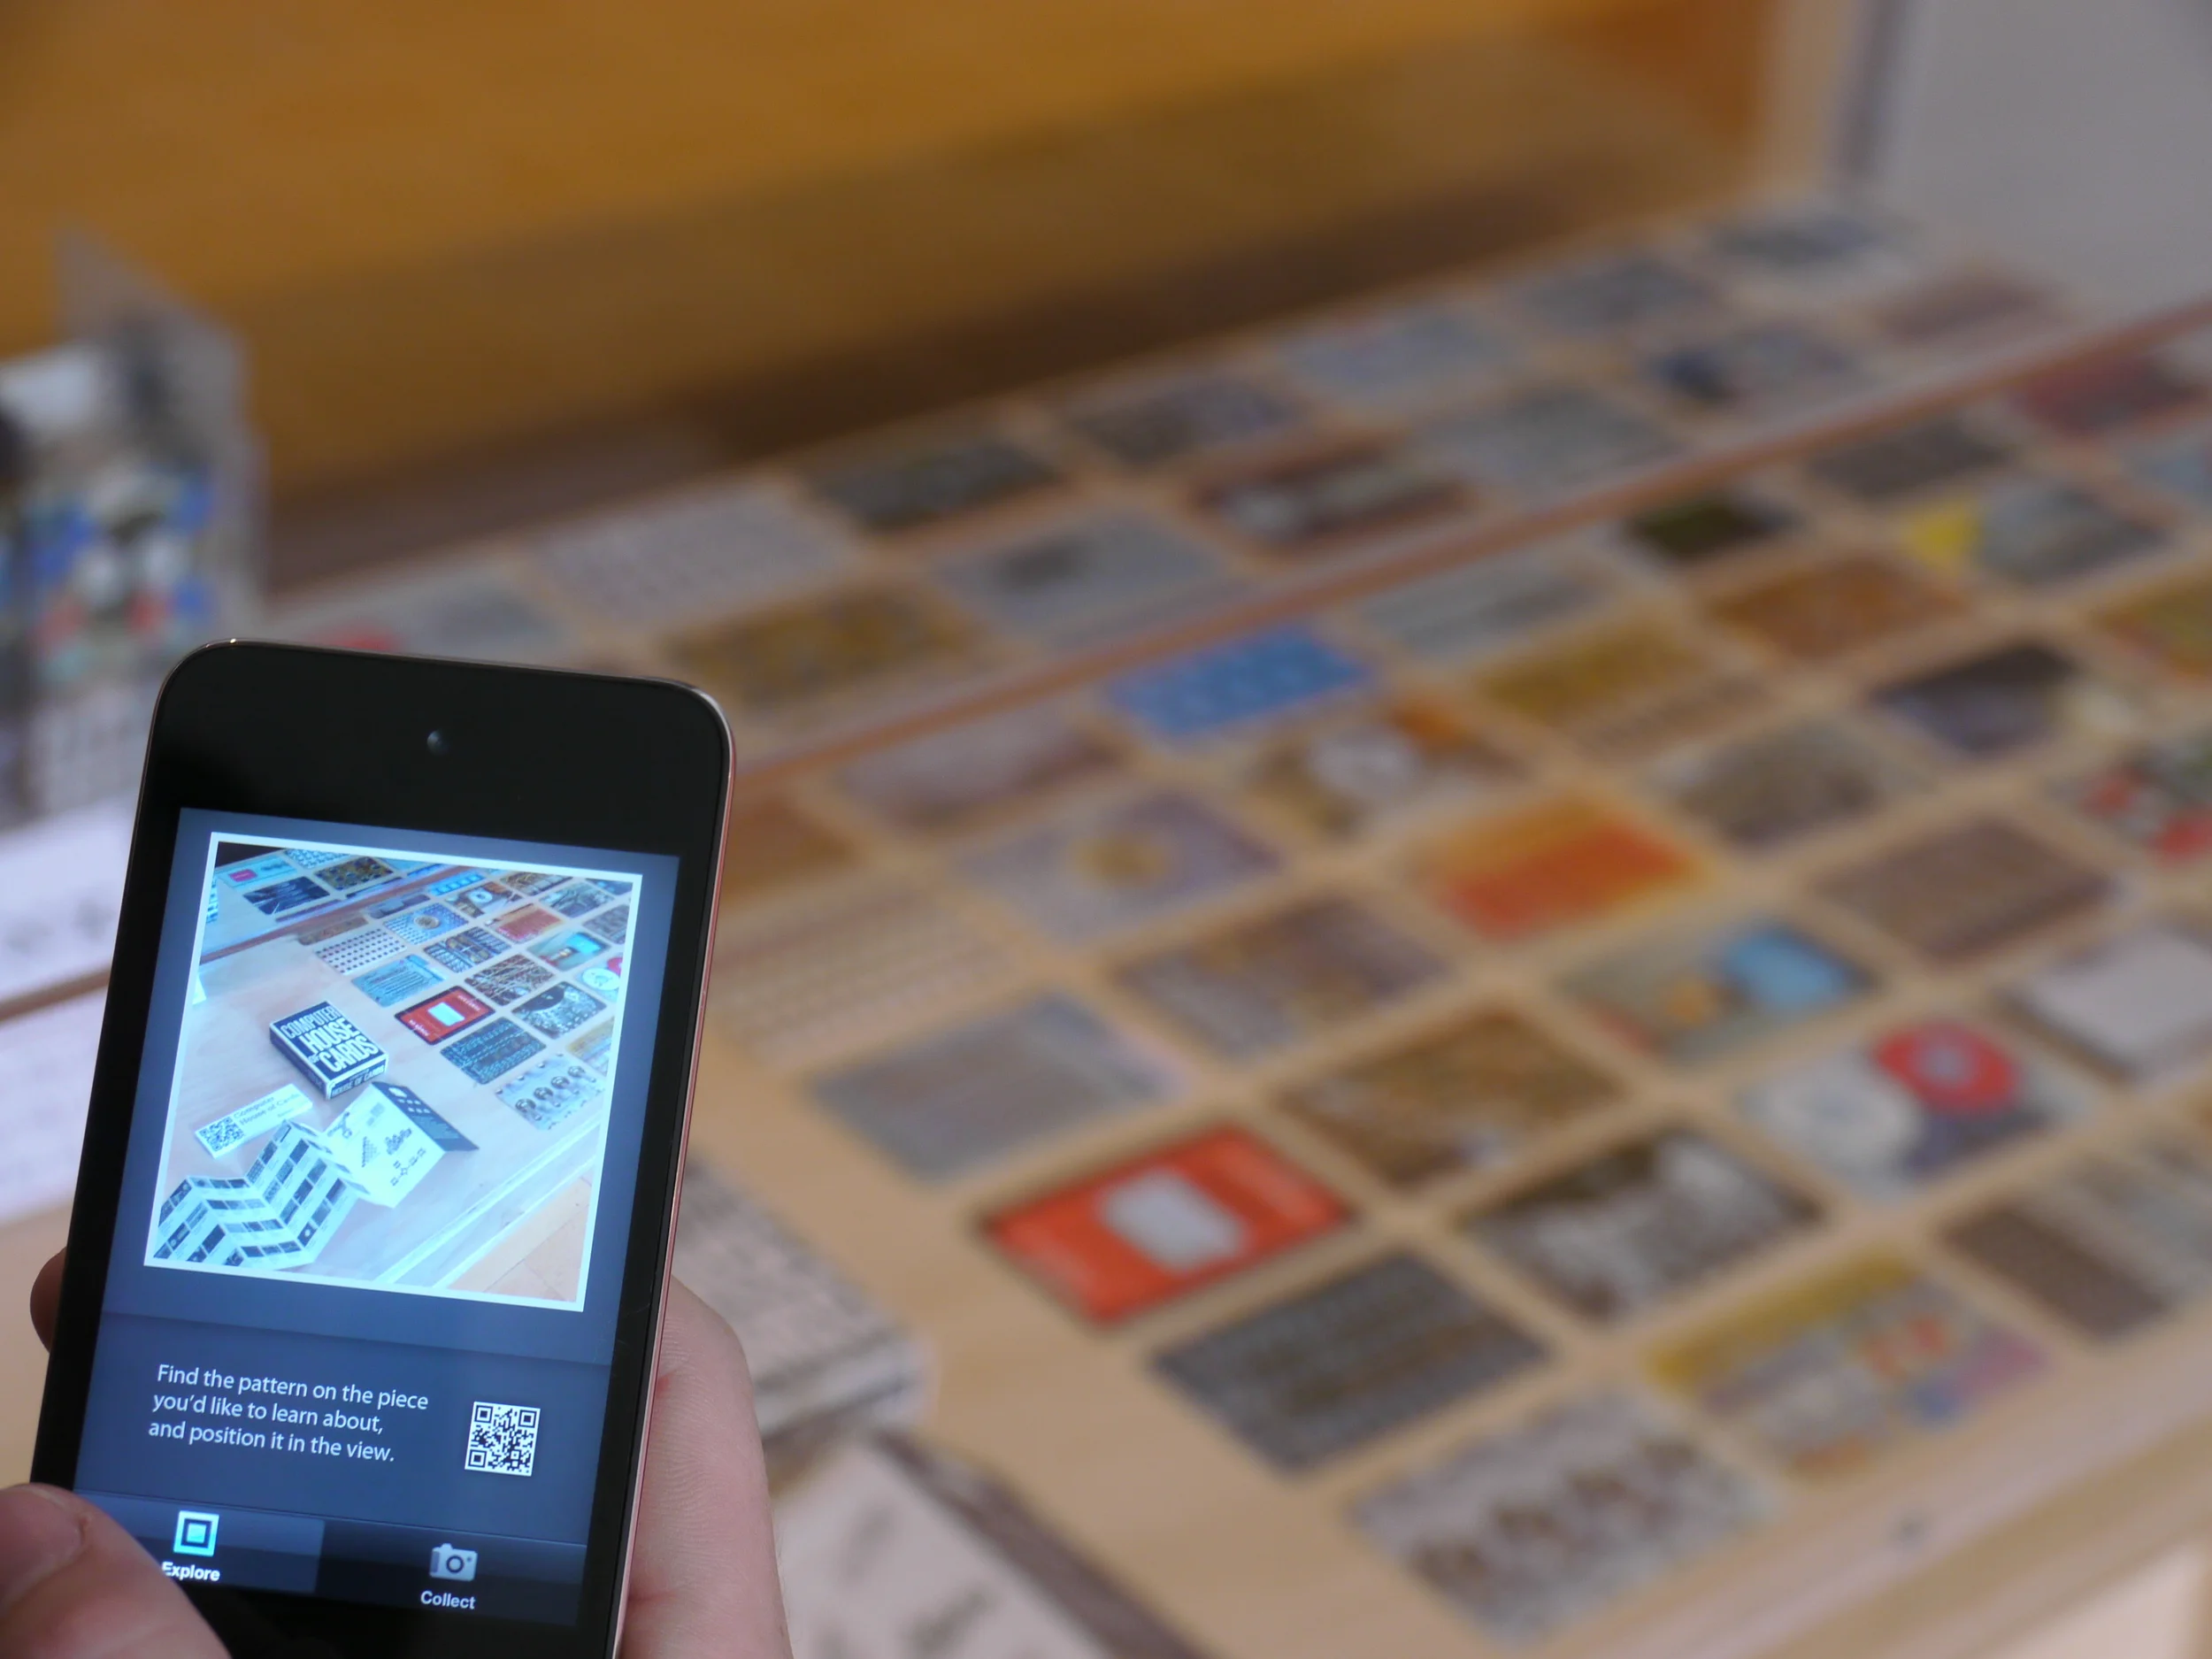
Step 10: When in doubt, make an app
Being in Silicon Valley, it would be crazy not to include an app as part of the exhibition. We worked with digital design firm BuzaMoto to create SpaceMixer, an app that allowed visitors to research more about a particular item during the exhibit, rather than waiting until they were home and doing a search on Google.

Step 11: Document the final event
Step 12: Reflect
Overall, it was an exhausting yet incredibly rewarding experience. Working as a product designer in Silicon Valley, I can only hope some of the Eames' insight into communicating new technologies rubbed off on me during the course of this experience.
Special thanks to: Richard Kosoglow for assistance in building, Patience Young and Kristen Olsen for their infinite patience, and everyone else who lent us their time along the way!